Once installed and activated the Woocommerce plugin, it takes you through a setup Wizard, using which you can set some of the basic configurations of your store.
Set up Woocommerce Pages
Shop, Cart, Checkout & My Account pages are automatically created when WooCommerce plugin is activated. If for any reason, these pages are missing you have to manually create and setup these pages.
- Shop – This is the archive page for products to display all WooCommerce products. To setup your Shop page, go to Pages > Add New, create a page named Shop and Publish. After hitting the Publish button, please navigate to WooCommerce > Settings > Products tab and set this as your Shop Page.
- Cart – This is where a user can review all the products that have been added to the cart. Read in detail to setup cart page in
Cart - Checkout – This is where a user can enter his billing & shipping details, choose his payment method and complete the order. Read in detail to setup checkout page in Checkout
- My Account – This is where a registered user can manage this orders and his account details. Read in detail to setup my account page in My Account
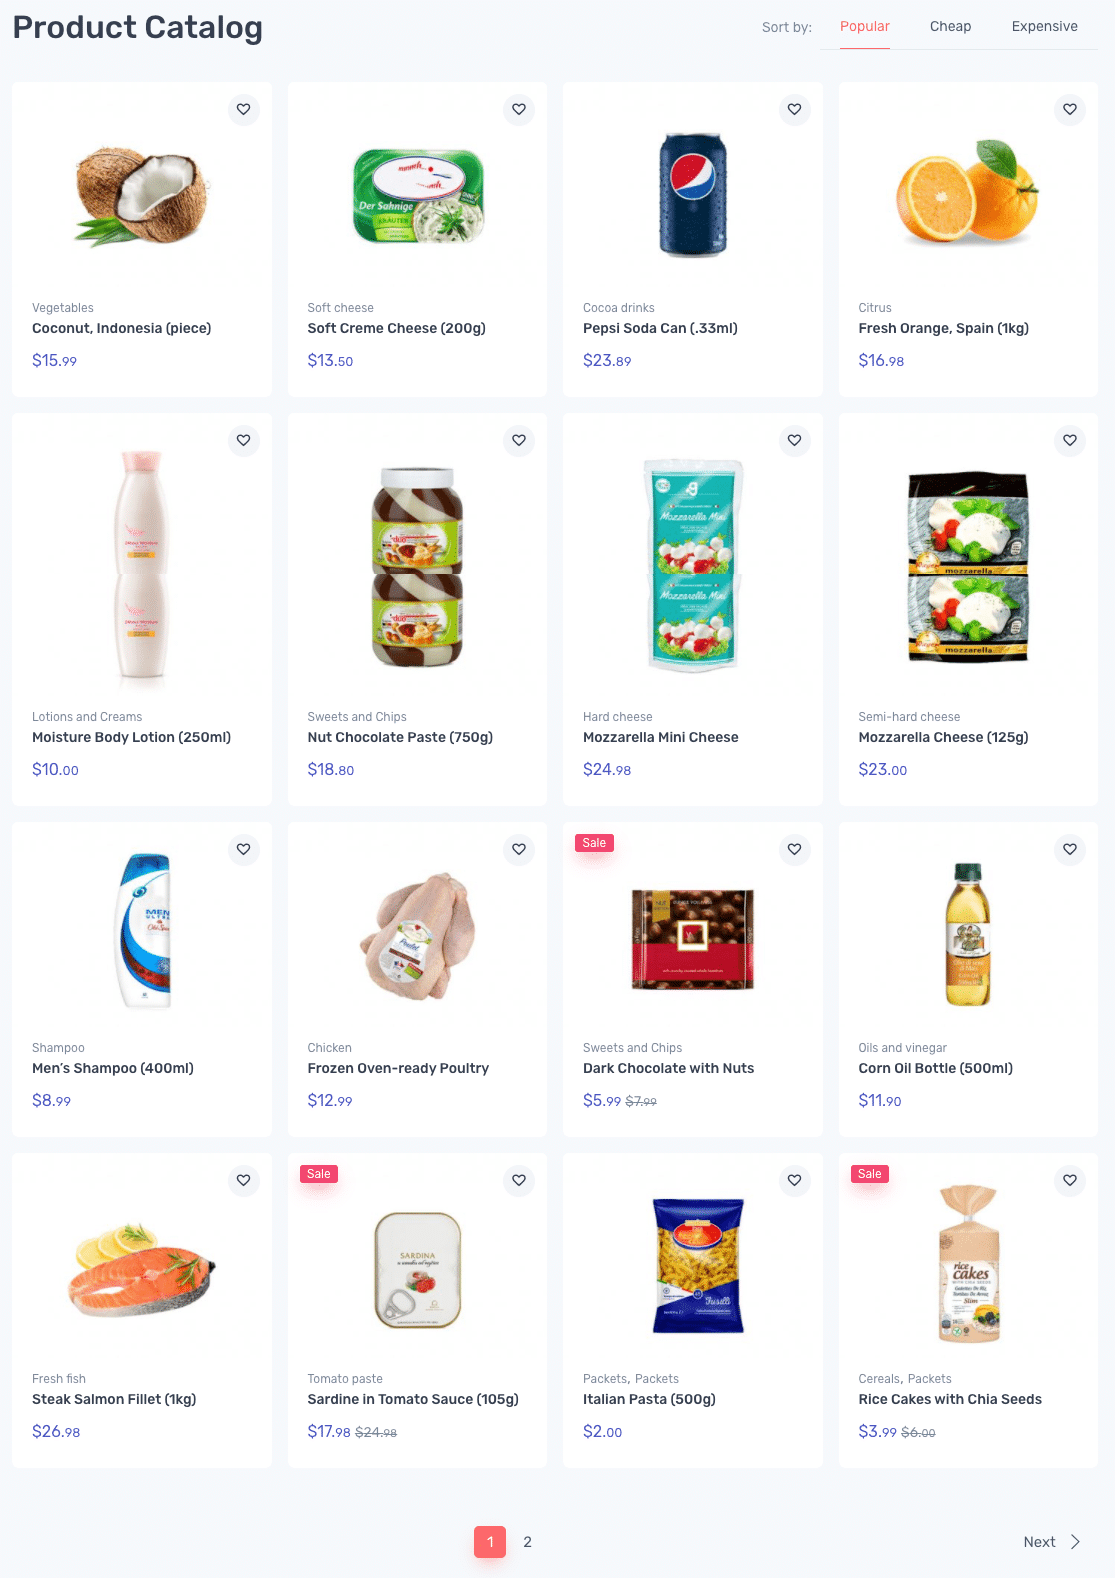
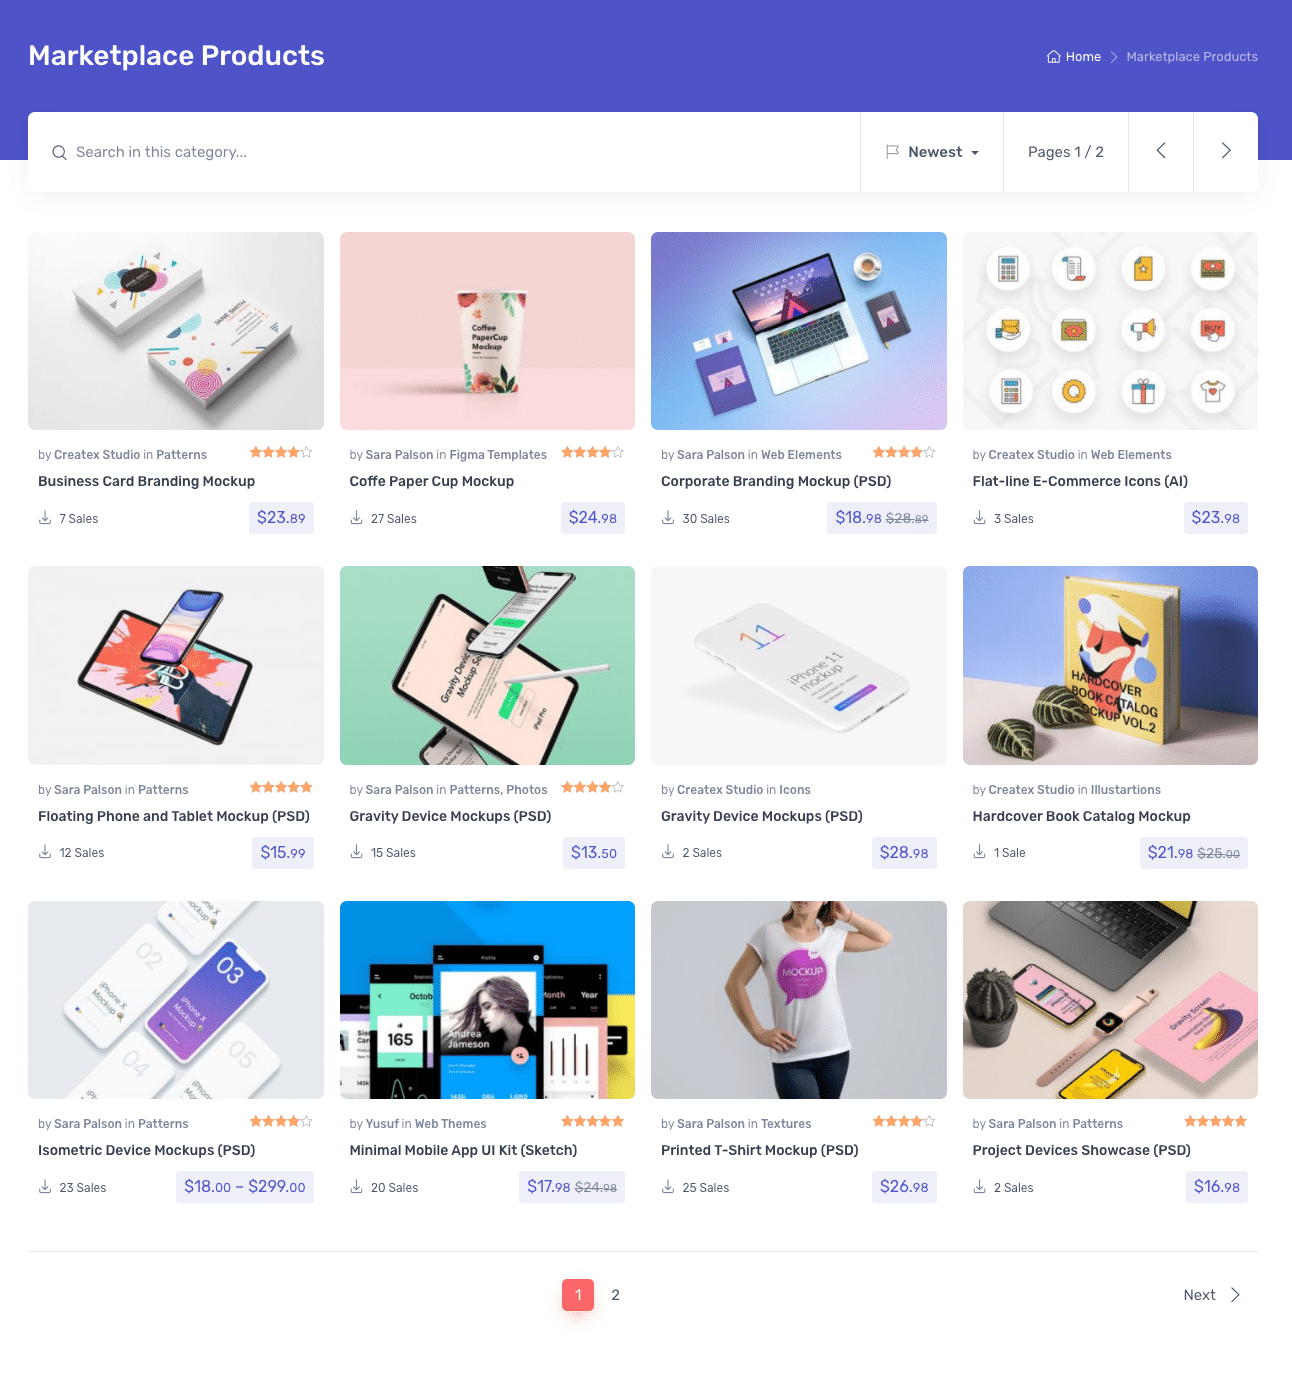
In Cartzilla shop page comes in 3 different styles.
WooComerce Shop Overview
Marketplace Shop Overview
Grocery Shop Overview