Cartzilla has predefined headers which can configure using Customizer or create with Header block using Static Contents.
Predefined Headers
1 Level Light

1 Level Dark

2 Level Light

2 Level Dark

3 Level Light

3 Level Dark

Electronics Store

Marketplace

Grocery
Header Components
Top Bar
Output

Settings
Top Bar style remain for ‘2 Level Light’, ‘2 Level dark‘, ‘3 Level Light‘, ‘3 Level Dark‘ and ‘Electronics Store‘ .
You can edit the Top Bar from Appearance > Customize > Header > Topbar.
Logo
Output
Settings
You can upload your logo from Appearance > Customize > Site Identity > Logo.
Primary Menu
Output

Settings

Primary Menu is the main menu for the theme and it allows to present a site structure for the users. You can edit the Primary Menu from Appearance > Menus > Edit menus and choose “Primary”.
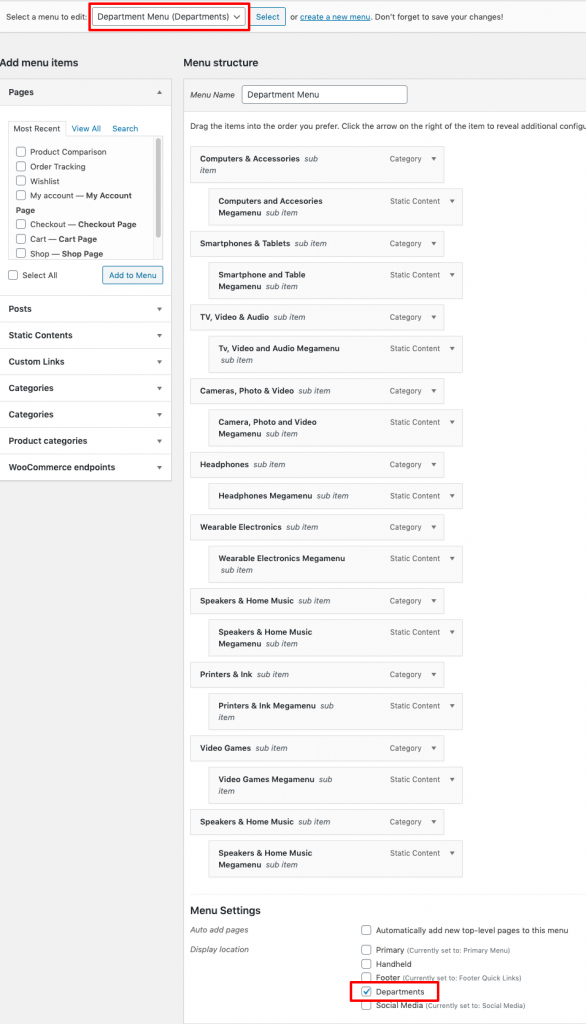
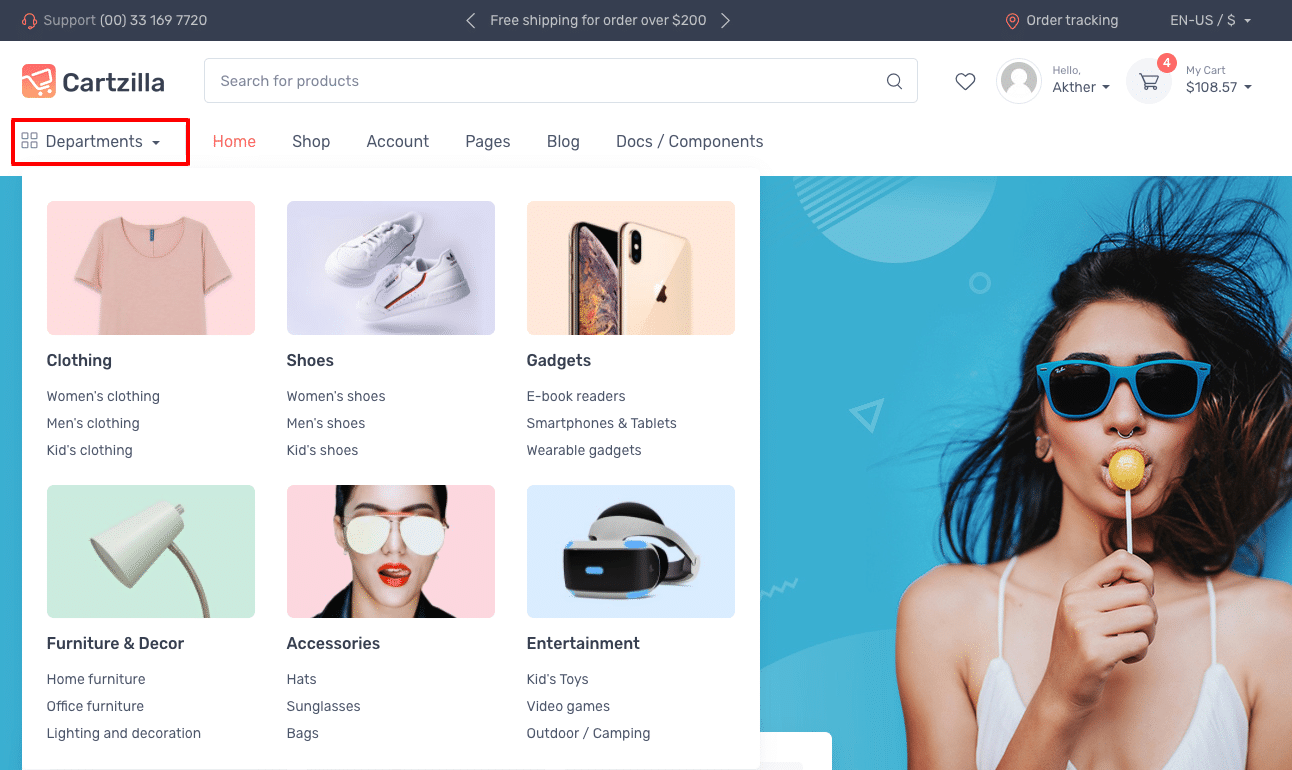
Department Menu
Output

Settings
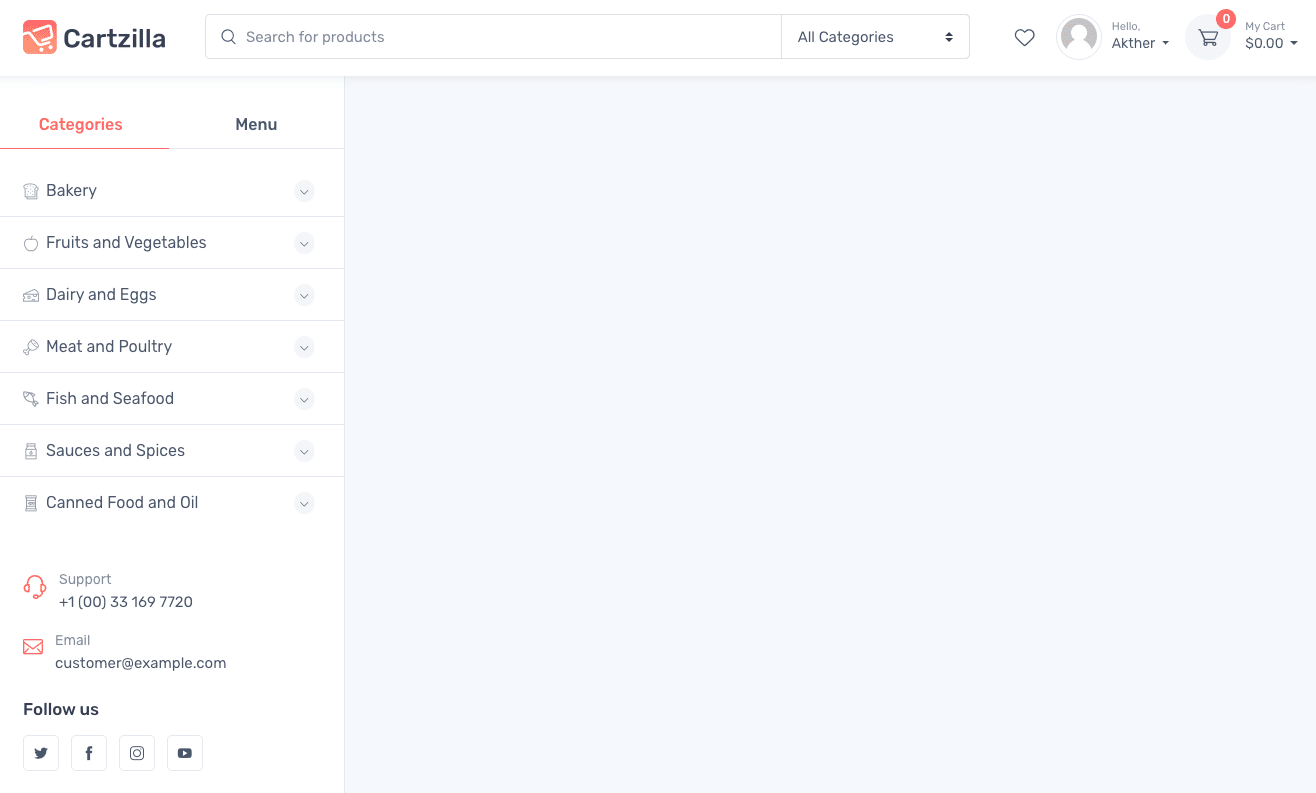
Department Menu with Product Category Image
Output
Settings
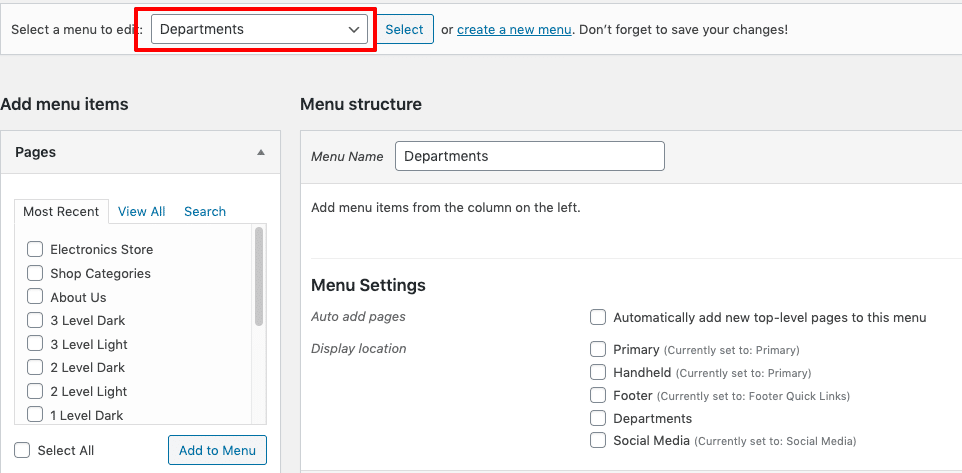
When menu location is not assigned for Department menu, the product category will display with image as Department Menu.
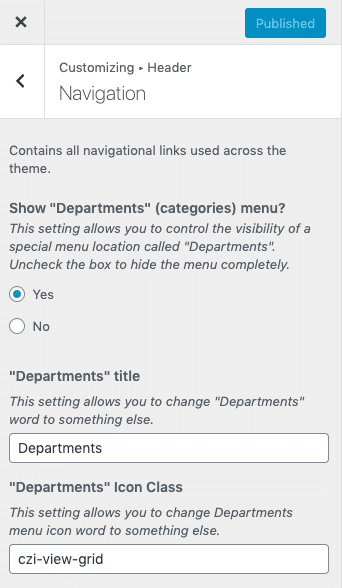
Departmenu Menu style remain for ‘3 Level Light‘, ‘3 Level Dark‘, ‘Electronics Store‘ and ‘Marketplace‘ . you can control the visibility of the department menu, title and icon in Appearance > Customize > Header > Navigation.
Choosing a Header Type

In default 3 Level Light is chosen as default header. To change the header type :
- Navigate to Appearance > Customize > Header. Choose the dropdown that represents the style of your choice and click on Save Changes.
- You will also find Make header full-width ? option which is used to enable/disable Full container.
- You will find Make header sticky? option which is used to enable/disable the header as sticky.
- You will find Show account? option which is used to enable/disable account details in header.
- You will find Show cart? option which is used to enable/disable mini cart in header.
- You will find Select an “Order tracking” page option , Choose the dropdown that represents the page of your choice as Order Tracking page
Adding icons to menus
To add an icon to menu item, you’ll have to specify the icon class in the CSS Classes field. Below is the screenshot of Appearance > Menus screen of our Grocery demo showing the Shop Departments.
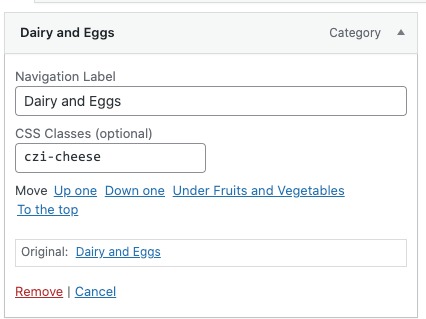
The above setting is displayed in our Grocery demo like shown below:
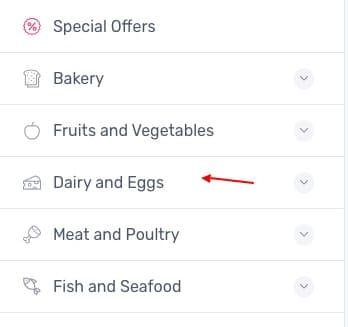
You can find all the list of available font classes in Appearance > Cartzilla Icons.
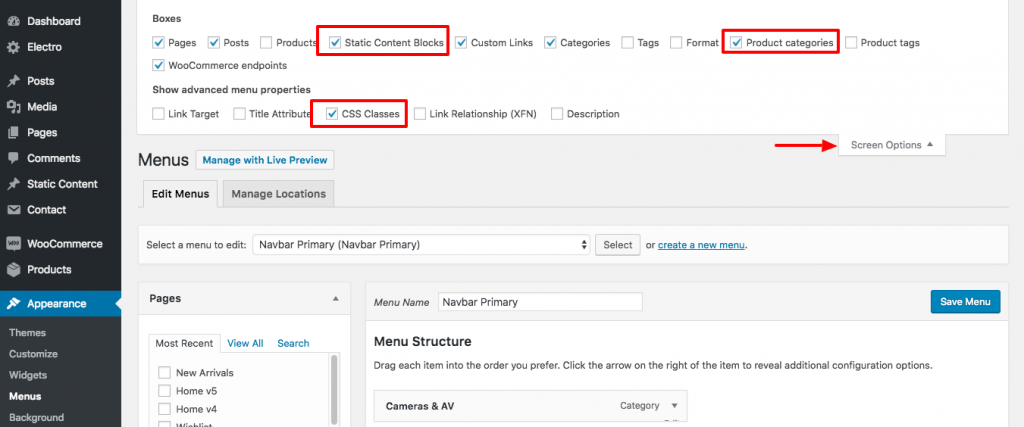
Enabling CSS Classes Field, Static Content Blocks & Product Category Menu options
By default CSS Classes field, Static Content Blocks and Product Categories menu items may not be available. The will have to be enabled. To enable it please click on Screen Options at the top right screen of Appearance > Menus page. In the pull down menu that appears, check CSS Classes in Show Advanced menu properties. Please also check Static Content Blocks and Product Categories in Boxes. We’ve explained it in the screenshot below.