Edit Page Screen
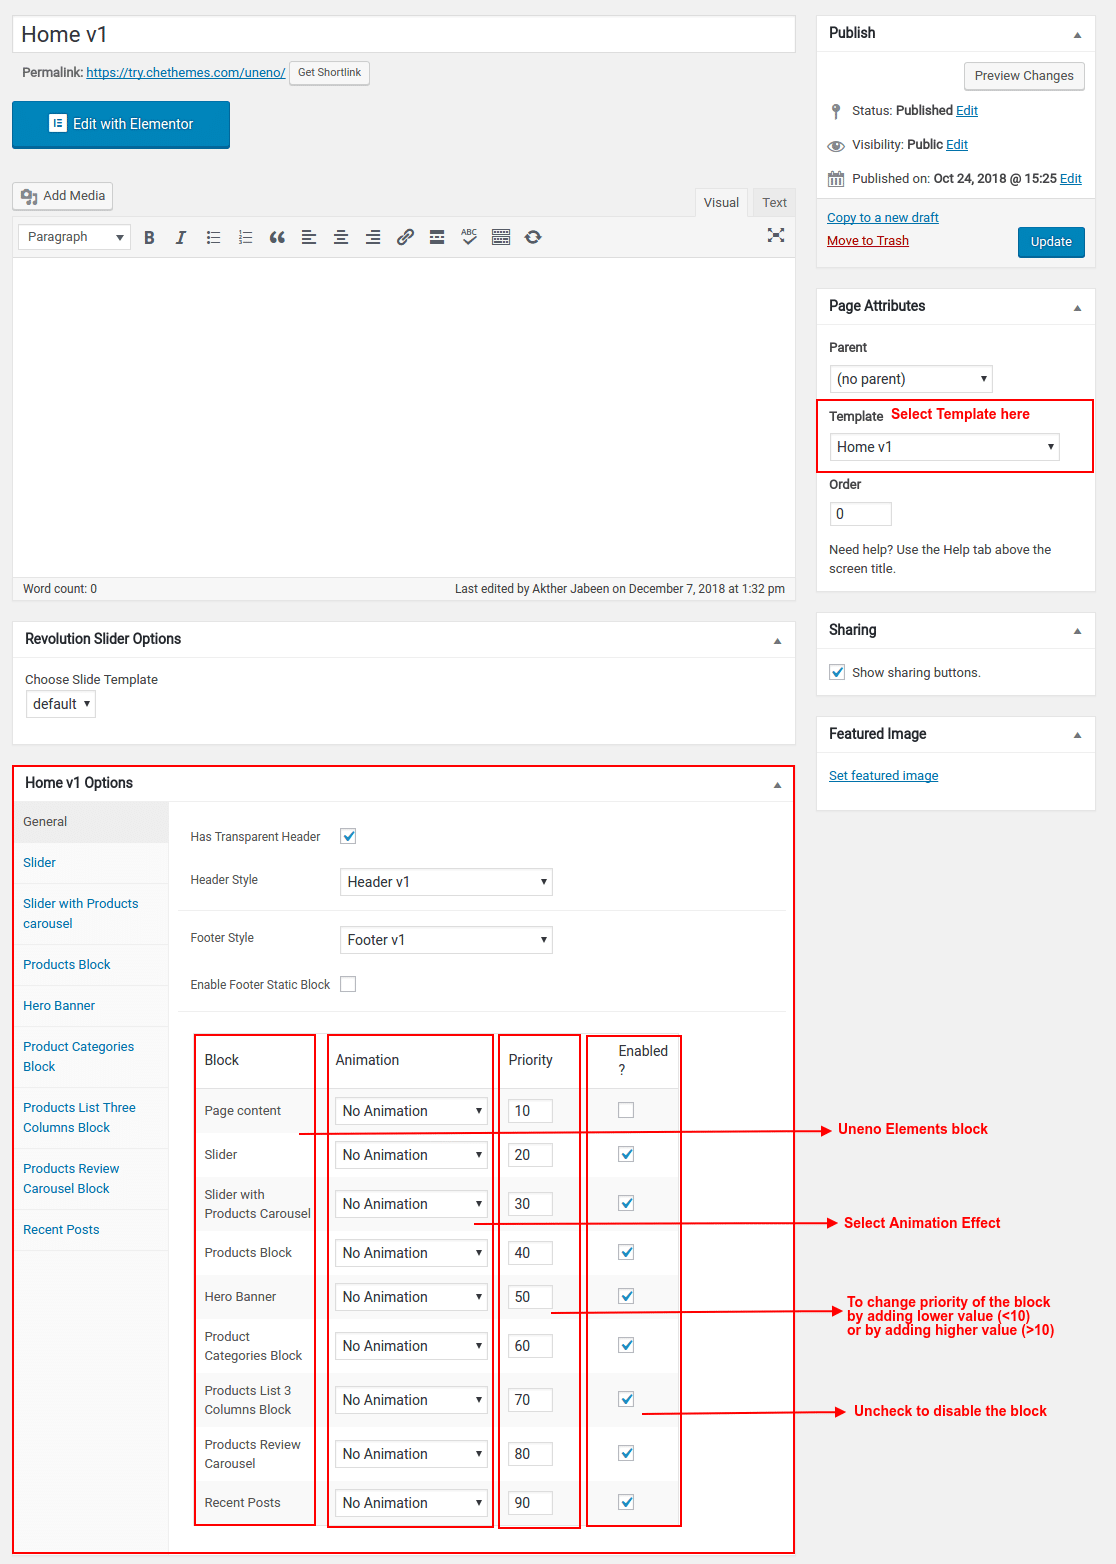
Following are the steps to create Home v1 using page template :
- Create a new page from Pages > Add New
- In the Page Attributes meta box that is usually present below the Publish meta box, choose the page template as Homepage v1 and click on Publish or Save Draft
- You can now view this saved page and it will load Home v1 template with its default values.
- When the page reloads, you will have the Home v1 page options to help you configure the blocks in Home v1.
Page Content
The Page content area is the WordPress editor area which is empty by default. This is because Home v1 content is loaded via Homepage v1 template and is configurable via Home v1 Page Options. Any content added to the content area is not loaded by default. It needs to be enabled from Home v1 Page Options > General > Page Content. Once you enable it the content from the editor area will be loaded the order is determined by the priority number given.
Home v1 Page Options
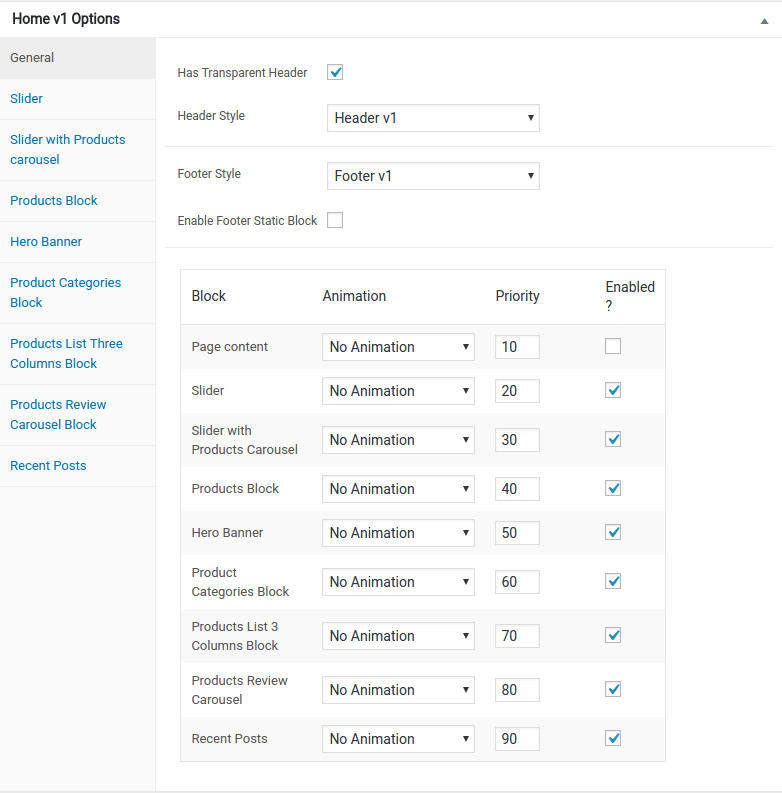
General
The General Tab lists all available blocks for Home v1. It also has options to enable/disable each block and determine each blocks order of appearance in the page.
Slider
Output
Settings
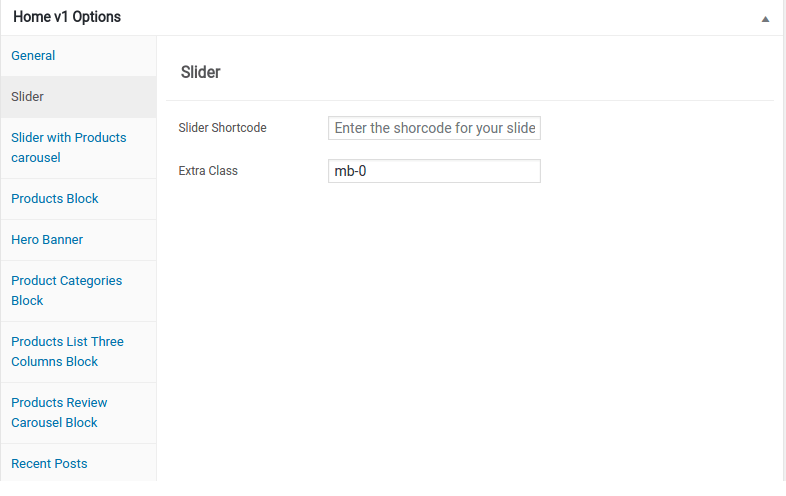
- Revolution Silder : Enter the shortcode for your slider – Default: [rev_slider alias=”home-v1-slider”]
Slider with product carousel
Output
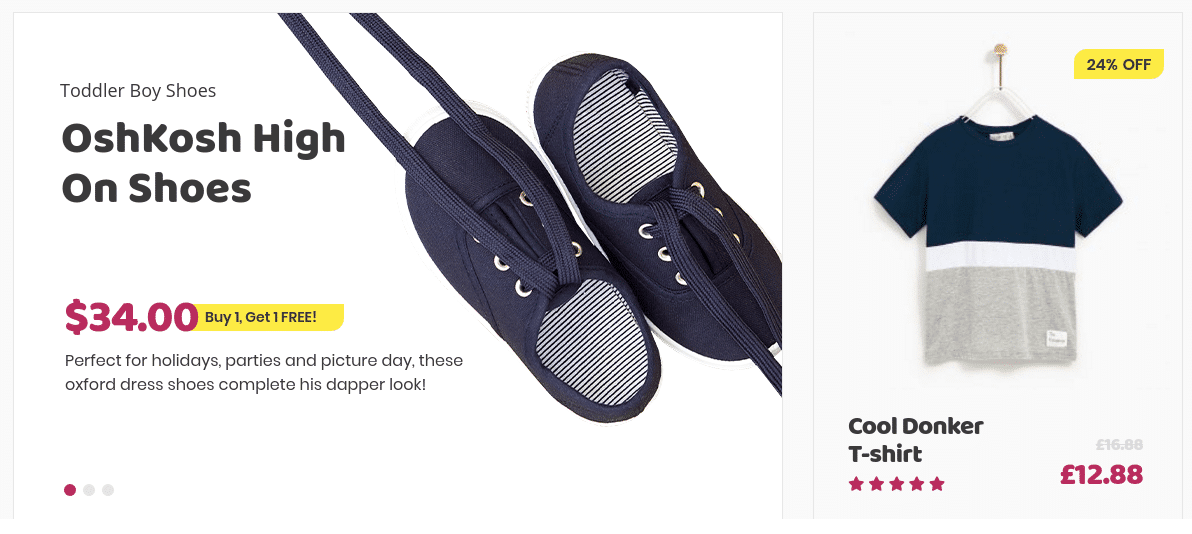
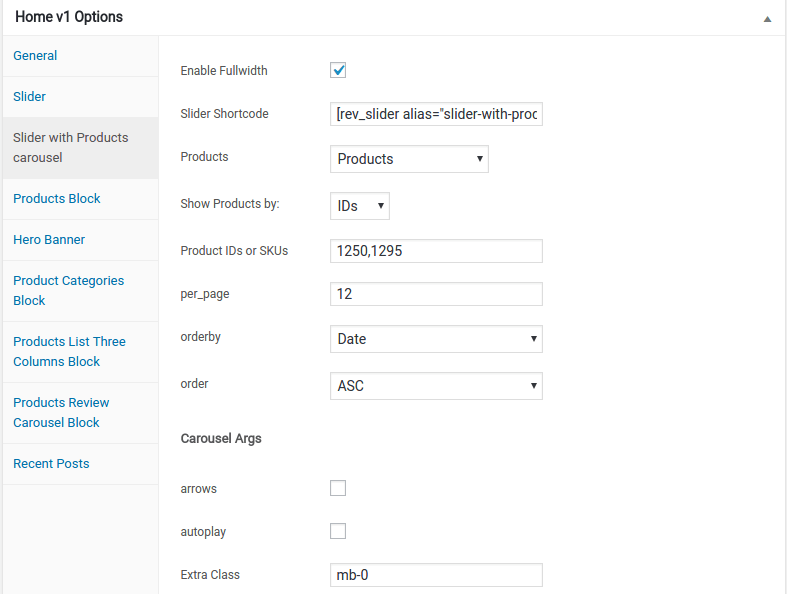
Settings
- This row has two columns.
- These two columns has slider and product carousel.
- Enable Fullwidth – Check to enable fullwidth.
- Slider Shortcode – Enter the slider shortcode.
- Products – Show product by its type.
- Show Product by – Show products by IDs or SKUs.
- Product IDs or SKUs – Enter products IDs or SKUs.
- per_page – Enter the number of products to be displayed.
- Order By – Choose the order of your products, either by date, id,
menu order, popularity, rand, rating and title. The title will arrange it based on the
alphebetical order. – Default: Name - Order – Choose the products to be displayed either in Ascending or
Descending Order – Deafult: ASC. - Carousel Args – Check arrow to enable arrows, Check autoplay to enable autoplay and Extra class area for addition class.
Products Block
Output
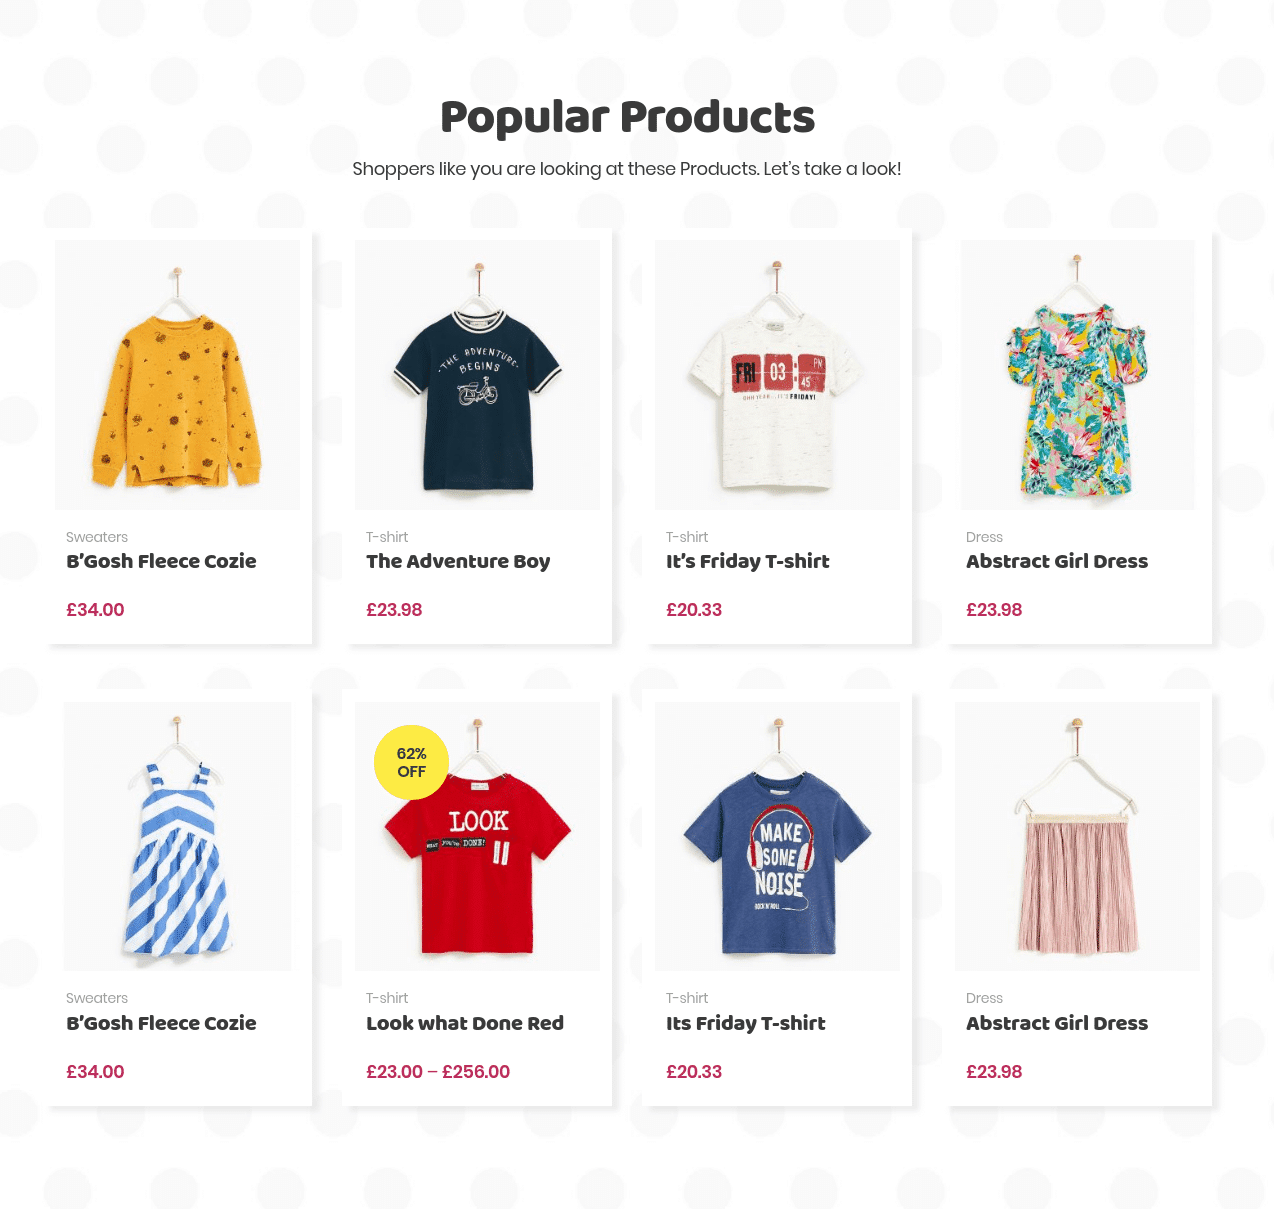
Settings
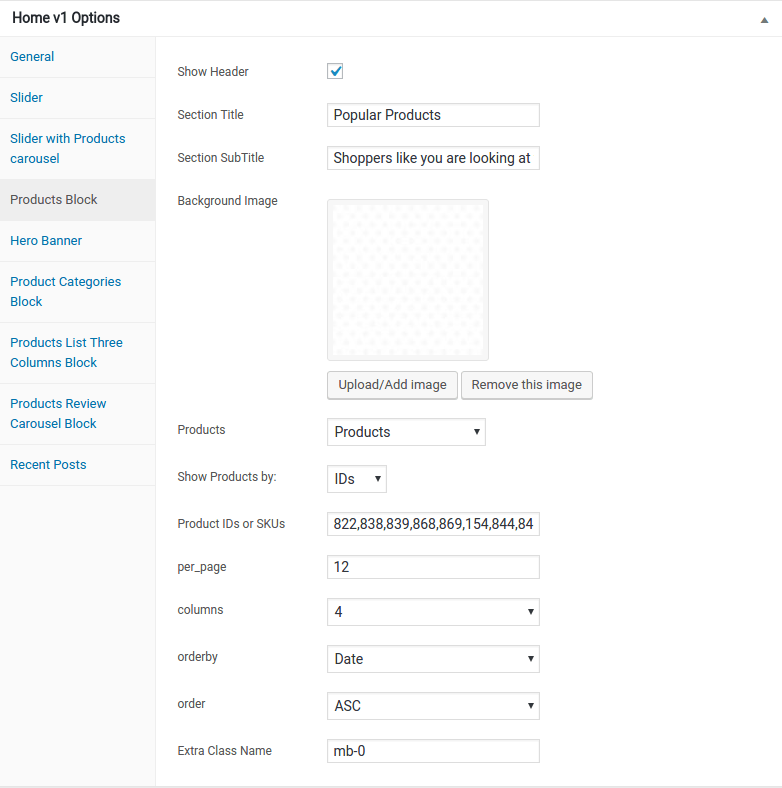
- Enable Header – Check to enable header.
- Section Title – Enter section title – Default: Shop By Age.
- Sub Title – Enter sub title – Default: Shop the latest and greatest styles for boys and girls.
- Background Image – Upload the background image.
- Products – Show product by its type.
- Show Product by – Show products by IDs or SKUs.
- Product IDs or SKUs – Enter products IDs or SKUs.
- per_page – Enter the number of products to be displayed.
- Columns – Enter the number of product columns to be displayed.
- Order By – Choose the order of your products, either by date, id, menu order, popularity, rand, rating and title. The title will arrange it based on the alphebetical order. – Default: Name.
- Order – Choose the products to be displayed either in Ascending or Descending Order – Deafult: ASC.
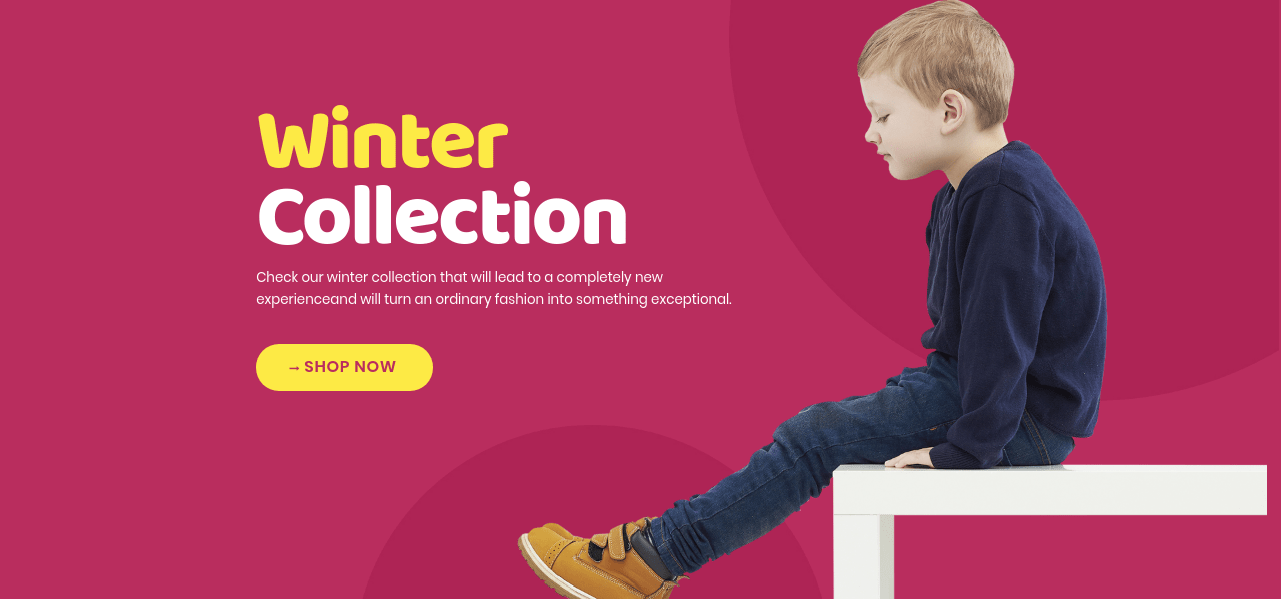
Hero Banner
Output

Settings
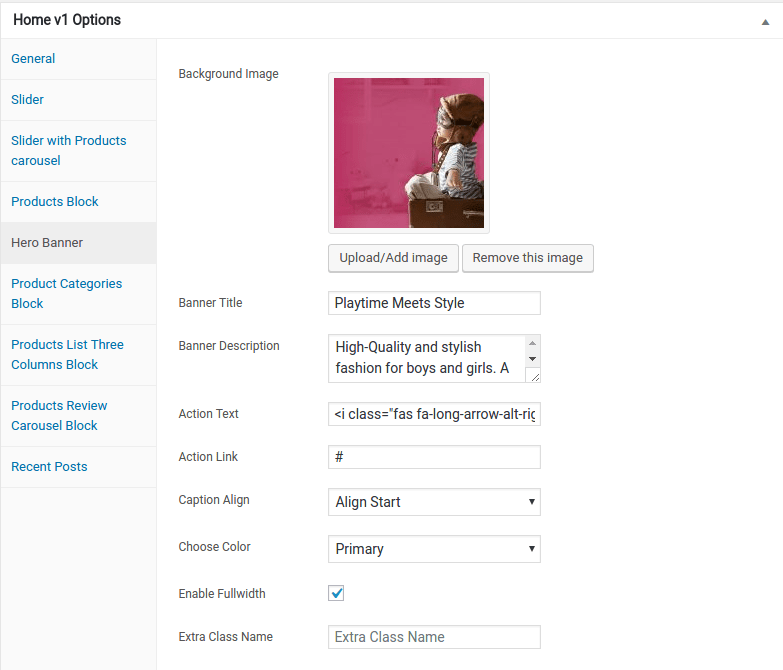
- Background Image – Upload the background image.
- Banner Title – Enter the Banner title.
- Banner Discription – Enter the Banner discription.
- Action Text – Enter the banner button text.
- Action Link – Enter the URL for the banner button – Default: #
- Caption Aligh – Choose the alignment of the caption.
- Choose color -Choose the color.
- Enable Fullwidth – Check to enable fullwidth.
- Extra Class Name – Add addition class.
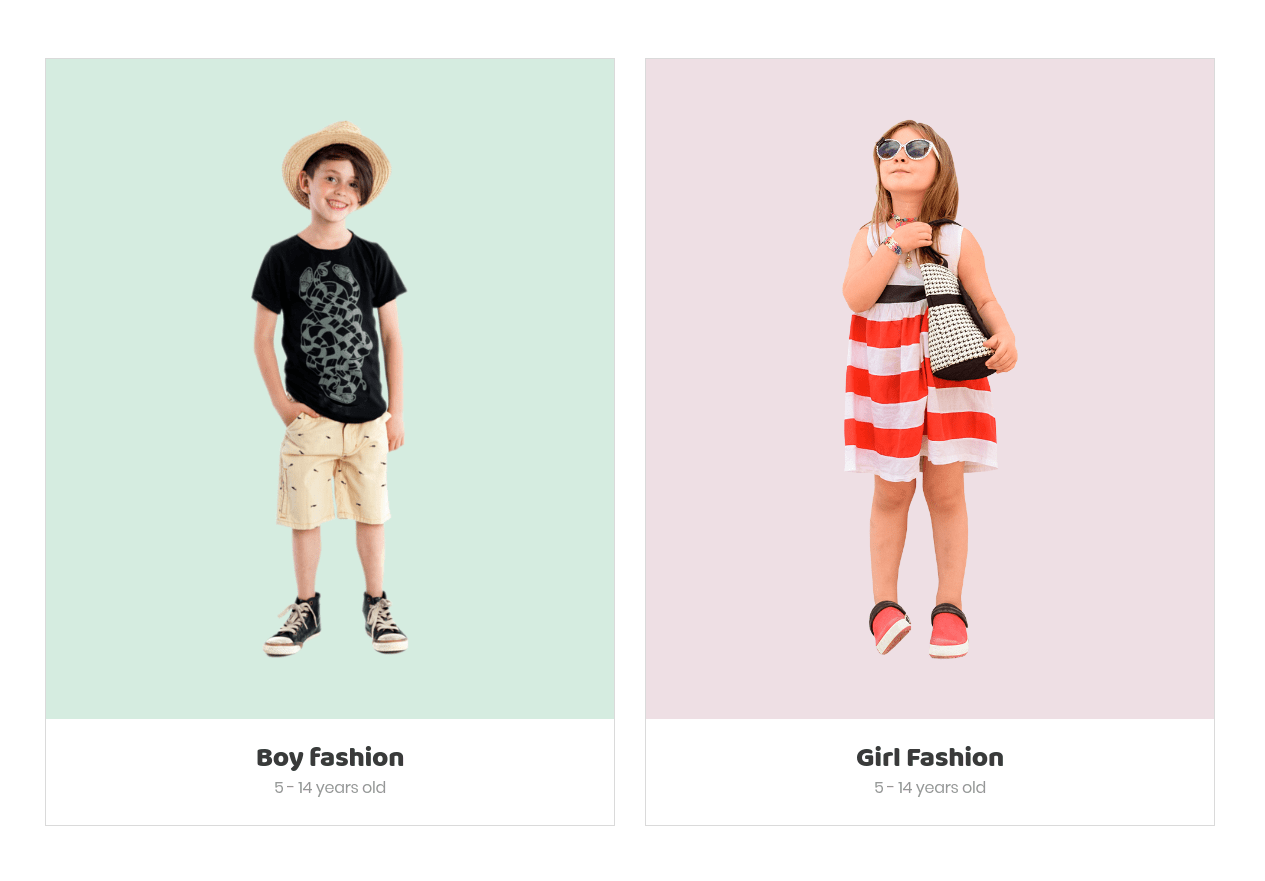
Product Categories Block
Output
Settings
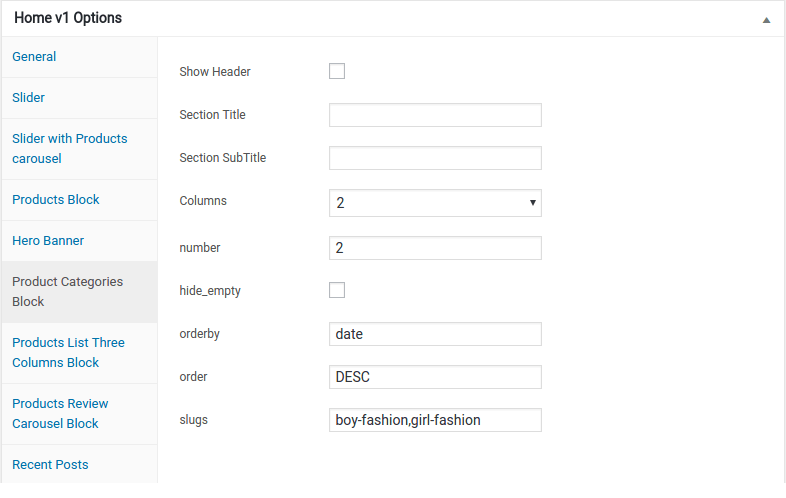
- Show Header – Check to enable Header.
- Section Title – Enter the Section Title.
- Section Subtitle – Enter Section Subtitle.
- Columns – Enter the number of columns.
- Number – Enter the number of product show.
- hide_empty : Enable or disable hide empty.
- Orderby – Choose the order of your products, either by date, id, menu order, popularity, rand, rating and title. The title will arrange it based on the alphebetical order. – Default: Title
- Order – Choose the products to be displayed either in Ascending or Descending Order – Deafult: DESC
- Slugs – Enter products slugs.
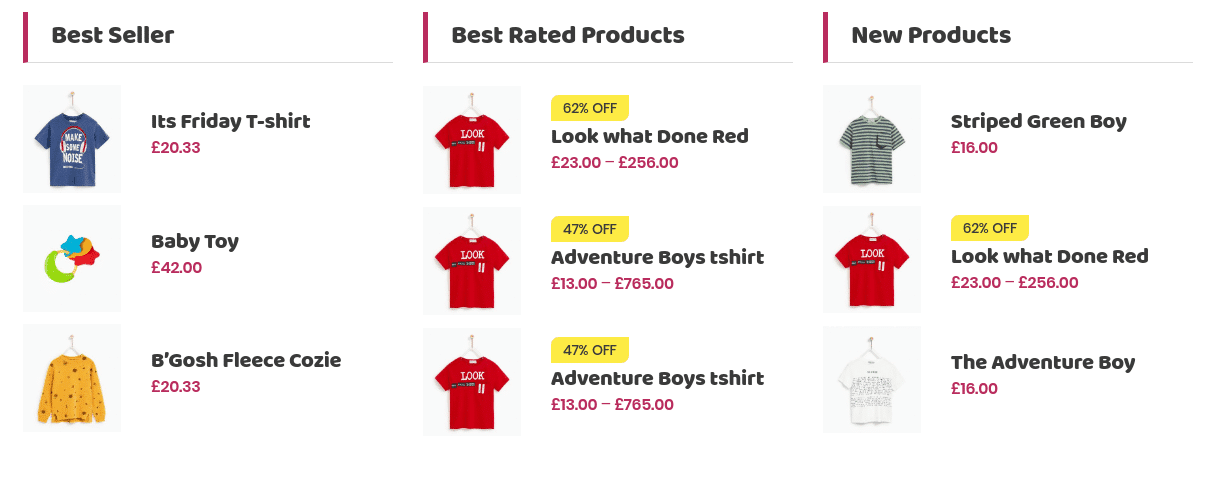
Products Three Columns Block
Output
Settings
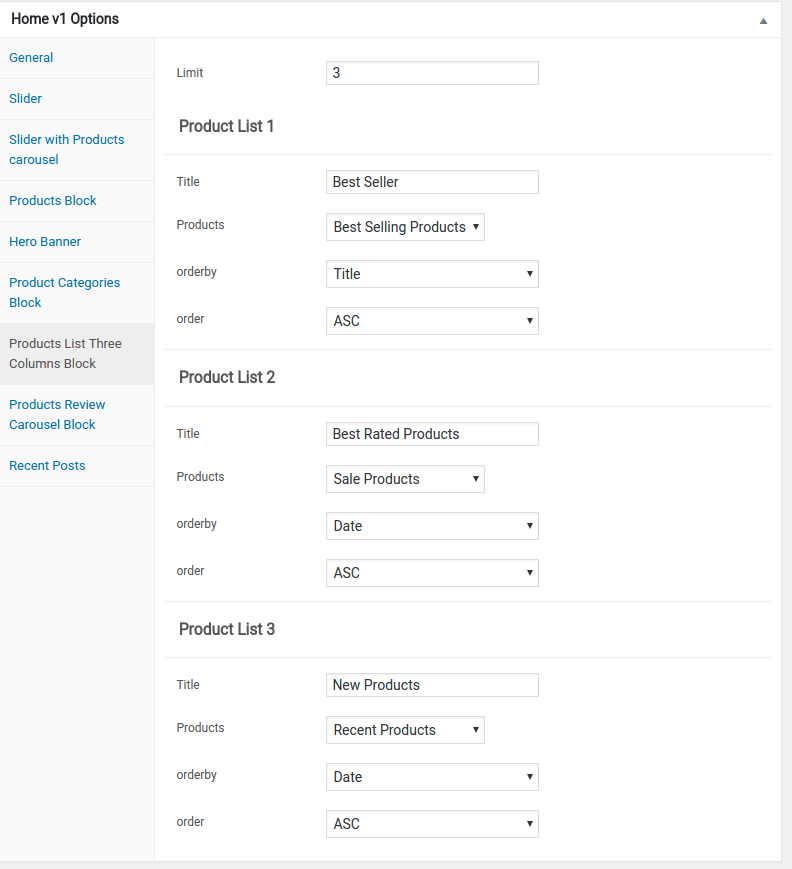
- Limit – Total number of post to show. Default: 3
- Title – Enter the Title.
- Products – Show product by its type.
- Order – Choose the products to be displayed either in Ascending or
Descending Order – Deafult: ASC - Order By – Choose the order of your products, either by date, id,
menu order, popularity, rand, rating and title. The title will arrange it based on the
alphebetical order. – Default: Name - Title – Enter the Title.
- Products – Show product by its type.
- Order – Choose the products to be displayed either in Ascending or
Descending Order – Deafult: ASC - Order By – Choose the order of your products, either by date, id,
menu order, popularity, rand, rating and title. The title will arrange it based on the
alphebetical order. – Default: Name
Product List 1
Product List 2
Product List 3
Product Review Carousel Block
Output

Settings
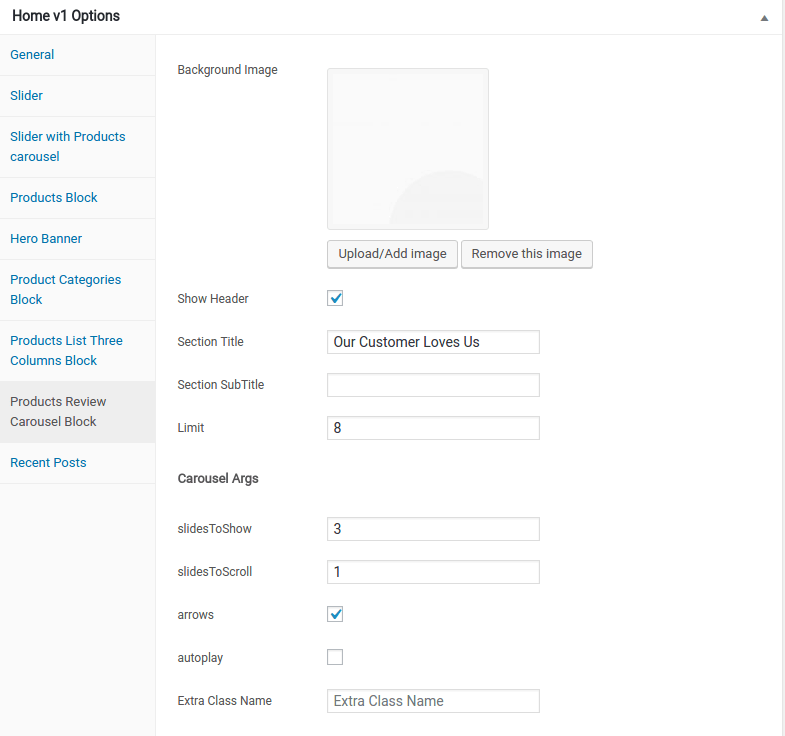
- Background Image – Upload background image.
- Show Header– Enable or Disable header.
- Section Title– Enter Section title.
- Section SubTitle – Enter Section sub title
- Limit – Enter the limit.
- slidesToShow – Enter the number of prduct slide to show.
- slidesToScroll – Enter the number of prduct slide to scorll.
- arrows – Enable or disable arrows.
- autoplay – Enable or disable autoplay.
- arrows – Enable or disable arrows.
- Extra Class Name : Enter the Extra Class name – Default:
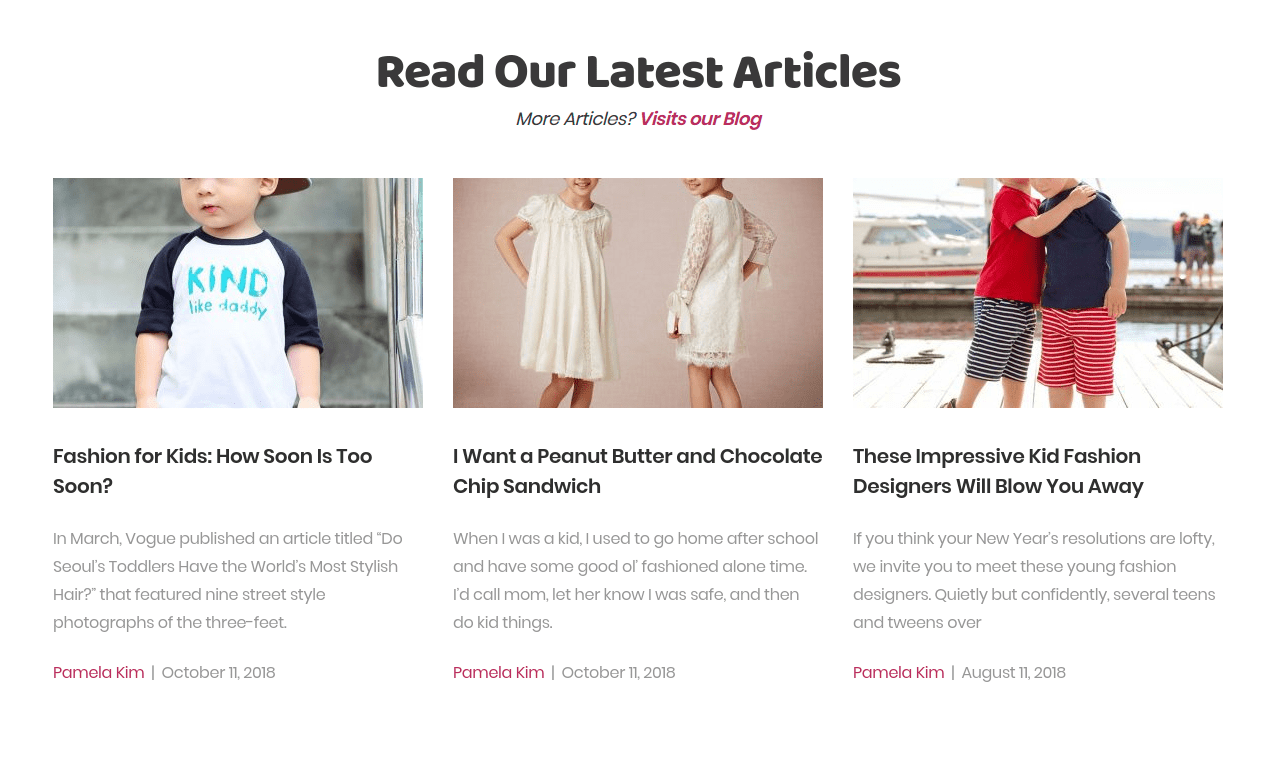
Recent Posts
Output
Settings
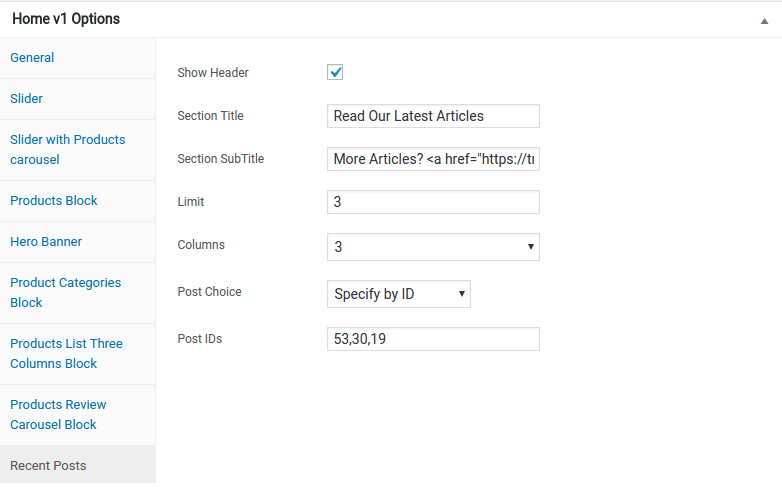
- Show Header– Enable or Disable header.
- Section Title– Enter Section title.
- Section SubTitle – Enter Section sub title
- Limit – Enter the limit.
- Columns : Select the number of columns
- Post Choice – Select the post.
- Post IDs – Enter the post id.