We built our simple Megamenu in previous section. We are now going to build a little complex mega menu using Visual Composer.
Revisiting Test Megamenu Item Static Block
- Navigate to Static Content > Static Blocks.
- It should display the “Pages Megamenu Item” that we created from previous section.
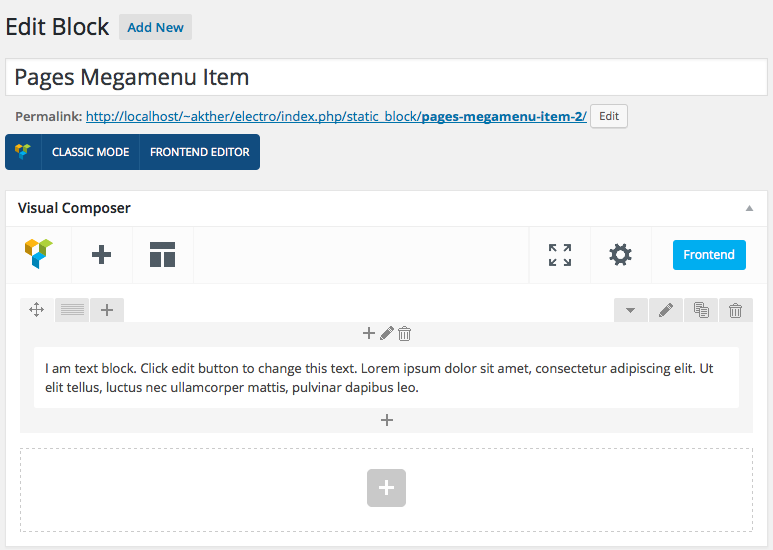
- Click on edit and you should see an existing text block.
- Delete the text edit block by hovering over the block and clicking on the button which has the trash icon.

A complex Megamenu Item
1. The Grid
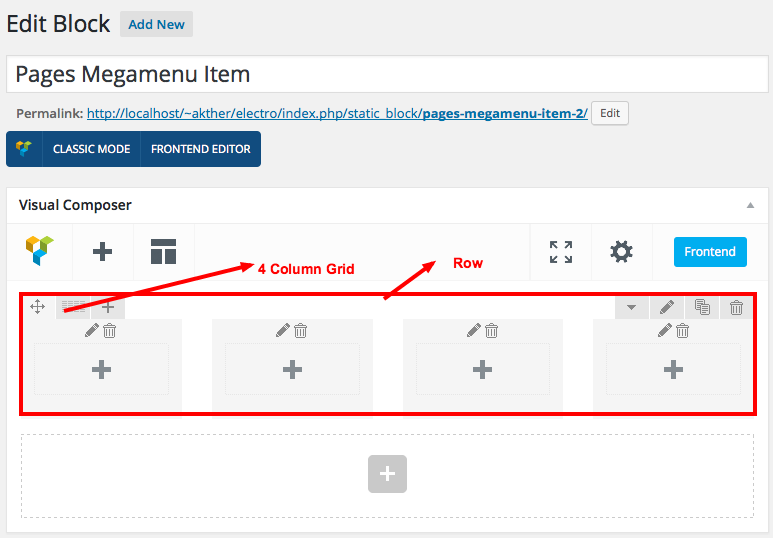
- Our Complex Megamenu item will now have 4 columns.
- On the top-right of each row, you will find a grid icon, next to the move icon.
- Click on the grid icon and it will expand to various grid option available.
- We will select a predefined grid which is 1/4 + 1/4 + 1/4 + 1/4.
- Once you click on the predefined grid layout it will look like this :

2. Populating the Grid
- Visual Composer comes with lot of elements that can be added to the Grid.
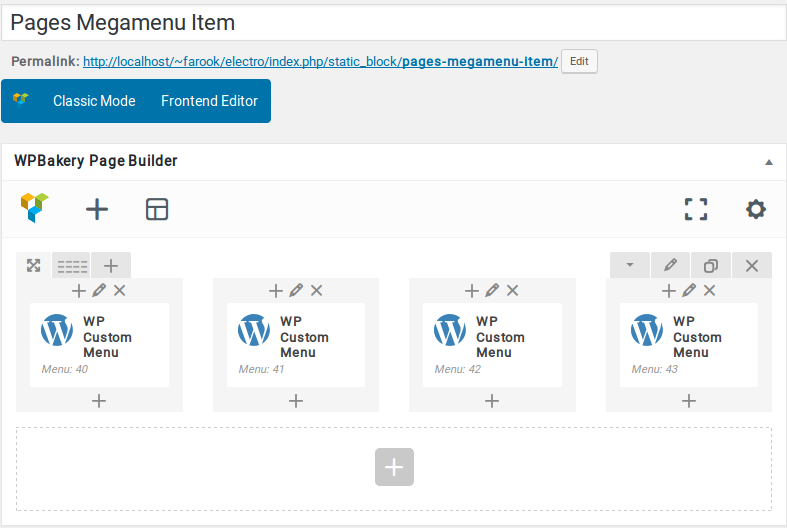
Row 1 has 4 columns.
- Column 1 – Click on the Add button. It should popup Add Element button. Let us add WP Custom Menu widget under WordPress Widgets. I have already created a menu (via Appearance > Menus).
- Widget Title :
- Menu : Pages Menu #1 ( name of the menu created already)
- Column 2 – Click on the Add button. It should popup Add Element button. Let us add WP Custom Menu widget under WordPress Widgets. I have already created a menu (via Appearance > Menus).
- Widget Title :
- Menu : Pages Menu #2 ( name of the menu created already)
- Column 3 – Click on the Add button. It should popup Add Element button. Let us add WP Custom Menu widget under WordPress Widgets. I have already created a menu (via Appearance > Menus).
- Widget Title :
- Menu : Pages Menu #3 ( name of the menu created already)
- Column 4 – Click on the Add button. It should popup Add Element button. Let us add WP Custom Menu widget under WordPress Widgets. I have already created a menu (via Appearance > Menus).
- Widget Title :
- Menu : Pages Menu #4 ( name of the menu created already)
3. How does the Grid look after populating ?
