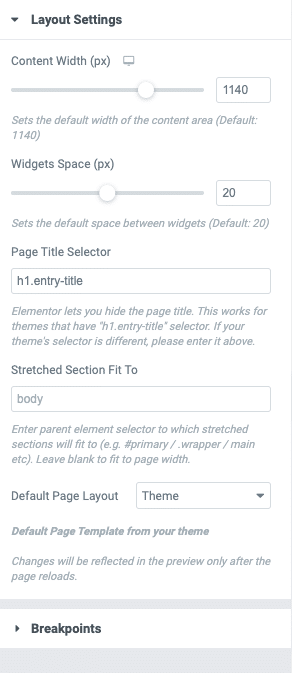
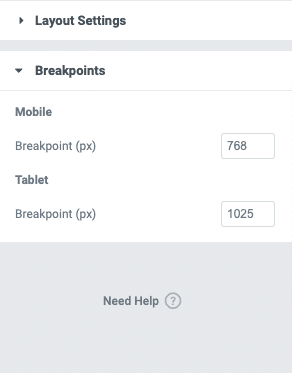
Please Note: All these settings are automatically set when you activate Hellix Elementor plugin. The below screenshots are for your reference in case you wish to set these values manually.
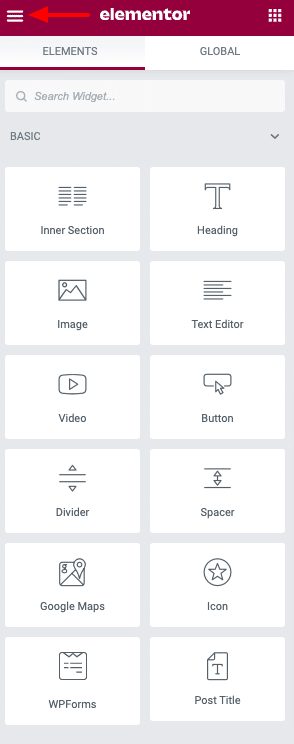
Once you’ve installed and activated Elementor and Hellix Elementor. You need to adjust the settings of Elementor for Hellix Theme. You can access Elementor Settings from Elementor > Settings.
General Settings
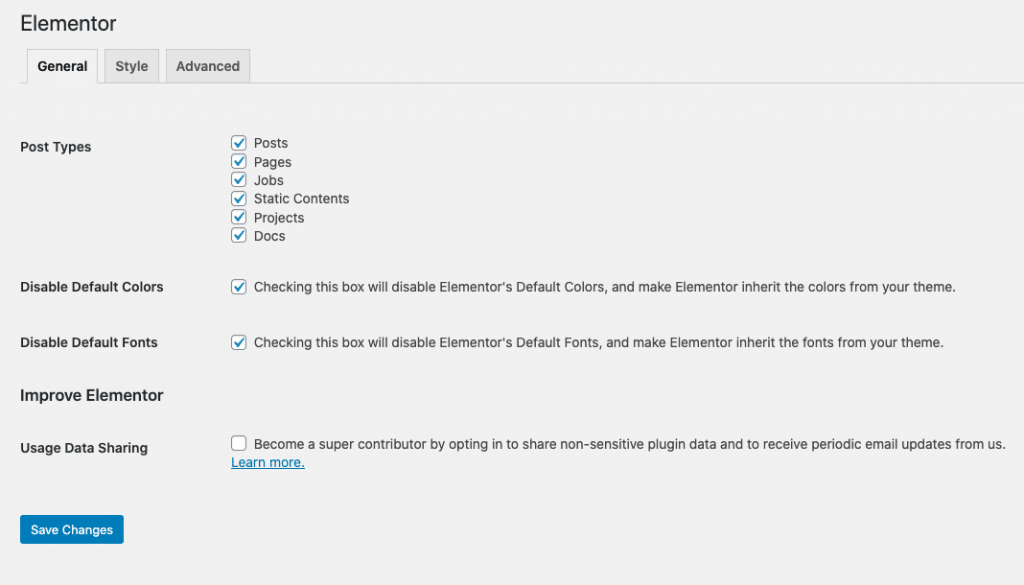
- Post Types – Please check all the available Post Types. This will allow all custom post types to be edited by Elementor.
- Disable Default Colors – Check this option. The colors for your website will be loaded from the theme. Unchecking this option will load Elementor styles and Hellix styles to render conflicting display.
- Disable Default Fonts – Check this option. Default fonts are loaded by the theme. Elementor fonts are not required.
Style Settings
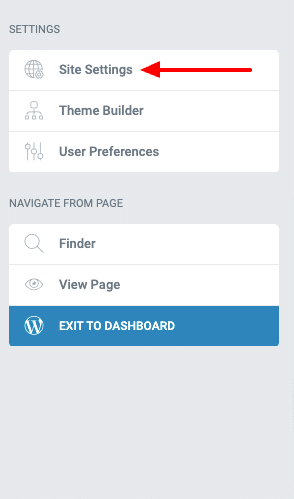
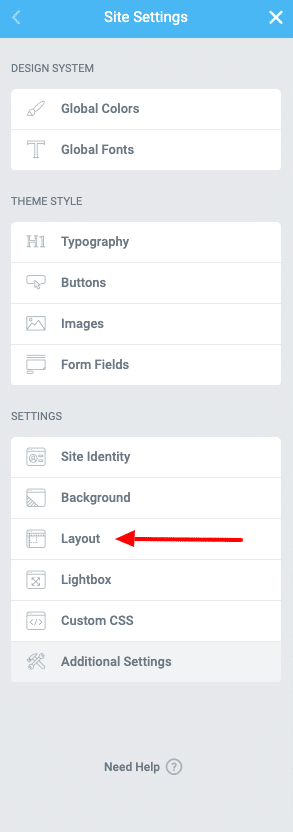
Layout Settings
- Content Width – Desktop – 1040 – Set the desktop max-width to this value.
- Content Width – Tablet – 720 – Set the desktop max-width to this value.
- Content Width – Mobile – 540 – Set the desktop max-width to this value.
- Widget Space (px) – 0 – Set the widget space to 0. Spacing between widgets is added by the theme through Spacing CSS classes.
Breakpoints
- Mobile Breakpoint – 768 – Set the mobile breakpoint to this value.
- Tablet Breakpoint – 991 – Set the table breakpoint to this value.
Hellix adds additional breakpoints through CSS. They are not configurable.
Advanced Settings
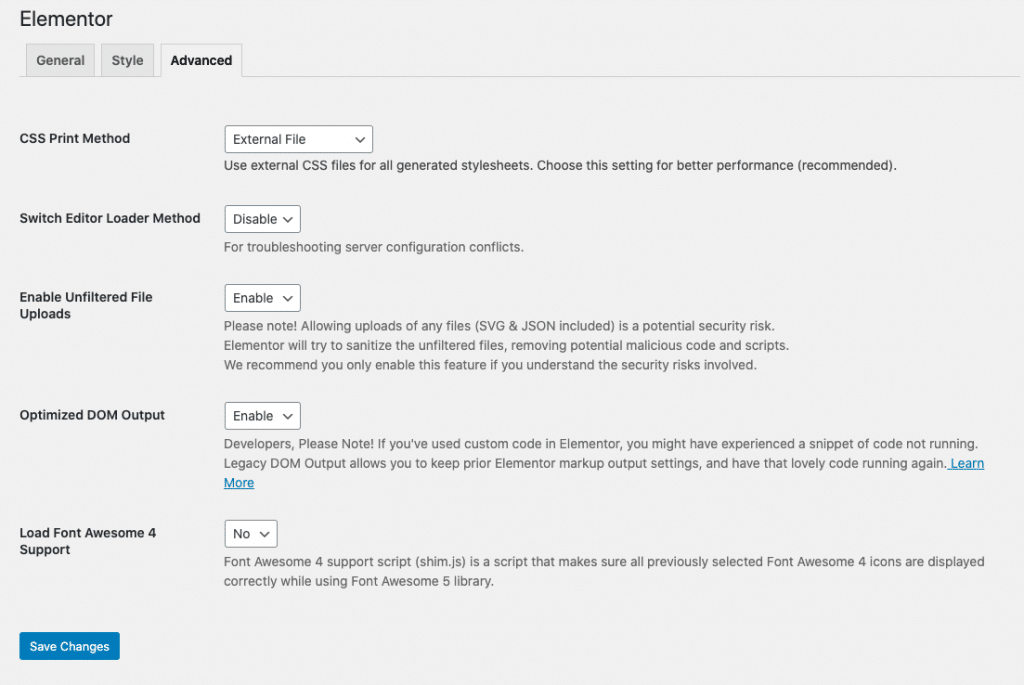
- Enable Unfiltered File Uploads – Choose Enable. This allows you to import SVG files. Hellix comes with many SVG files that you can use throughout.
- Optimized DOM Output – Choose Enable. Hellix is configured for optimized DOM. It breaks when unoptimized DOM is used.
