Building Megamenu Dropdown
Pizzaro supports Megamenu Dropdown, with the help of two plugins that comes bundled with the theme namely : King Composer or Visual Composer plugin and Pizzaro Extensions plugin.
1. Static Block Post Type
A megamenu item in Pizzaro theme is a Static Block. This Static Block is available on activating Pizzaro Extensions Plugin.
2. Enable Page builder in Static Block
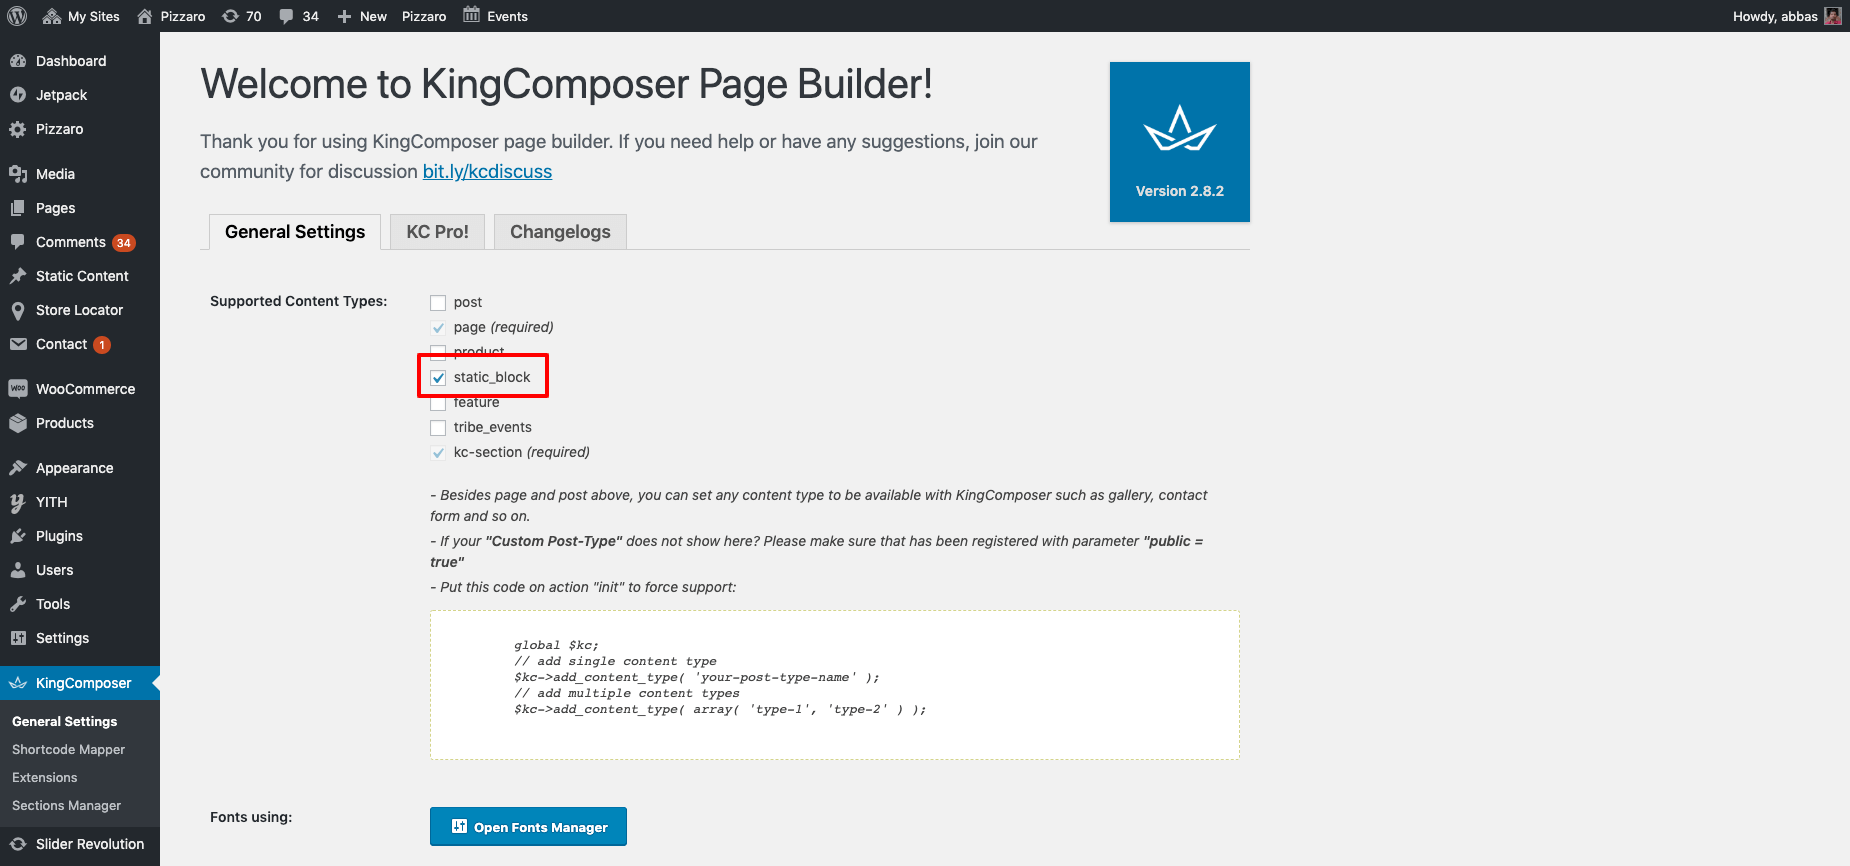
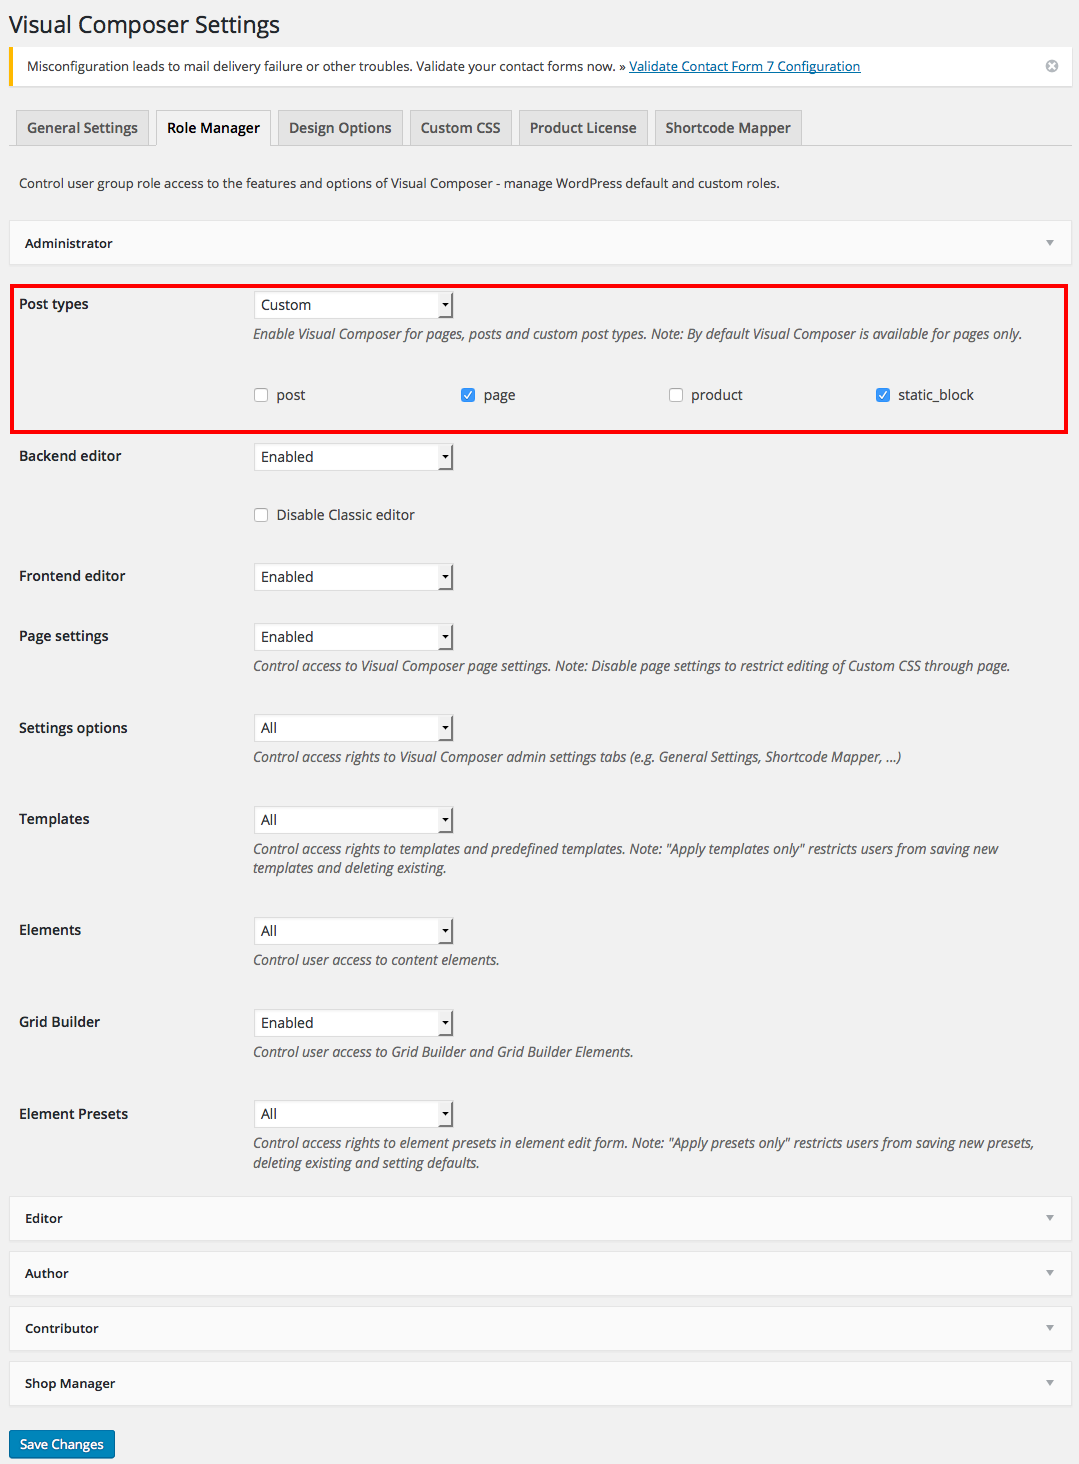
- Navigate to King Composer > General Settings Or Visual Composer > Role Manager.
King Composer – Settings
Visual Composer – Settings
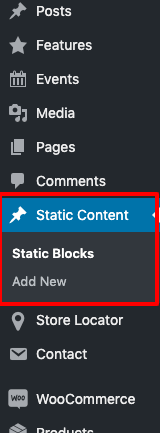
- Go to Static Content > Add New and make sure it has a button just below the title with king composer or visual composer icon and text that reads Backend Editor.
King Composer – Settings
Visual Composer – Settings
3. Add a new megamenu item
- Navigate to Static Content > Add New.
- Give it a title, lets say “Pages Megamenu Item” item. The title is not used anywhere in displaying the menu.
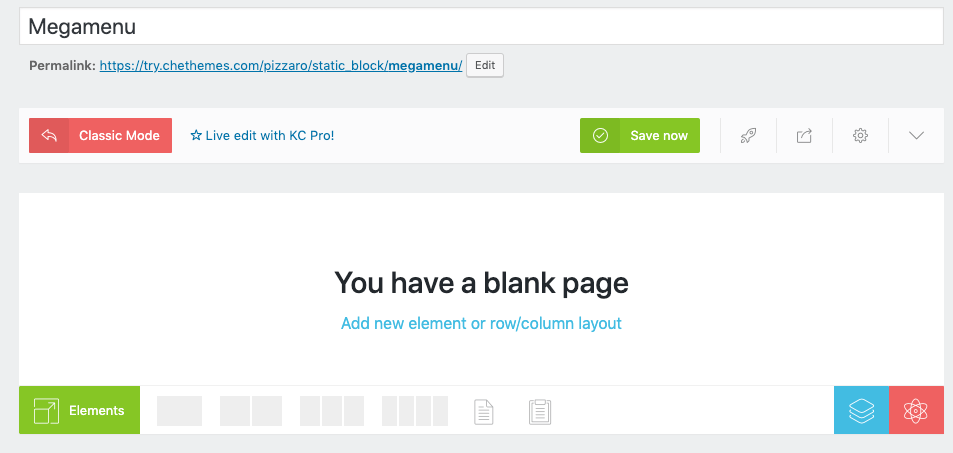
- Click on Backend Editor. It will display King Composer or Visual Composer Backend Editor. We will use this back end editor to build our megamenu item.
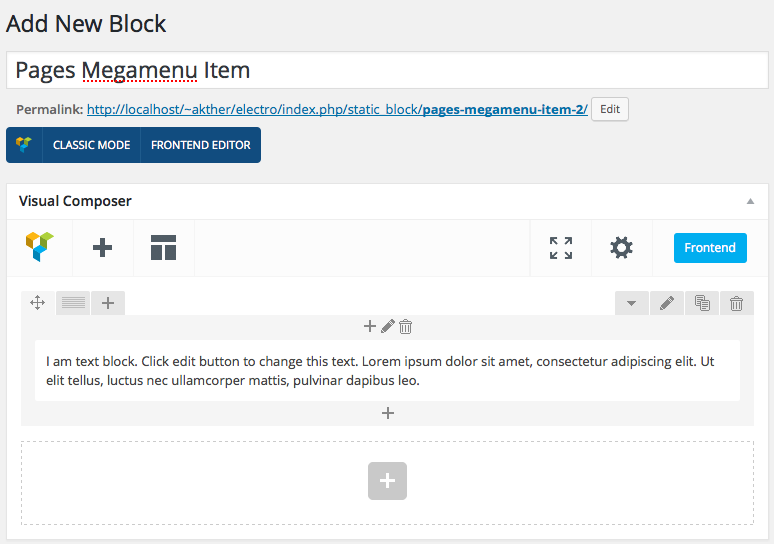
- Let us add a simple text block. Click on Add text block button and the result will look like this.
- Click on Publish button.
King Composer – Settings
Visual Composer – Settings
4. Adding megamenu item as a submenu to a menu item
- Navigate to Appearance > Menus.
- On top right corner of your screen, you will find a dropdown menu Screen Options. Click on it.
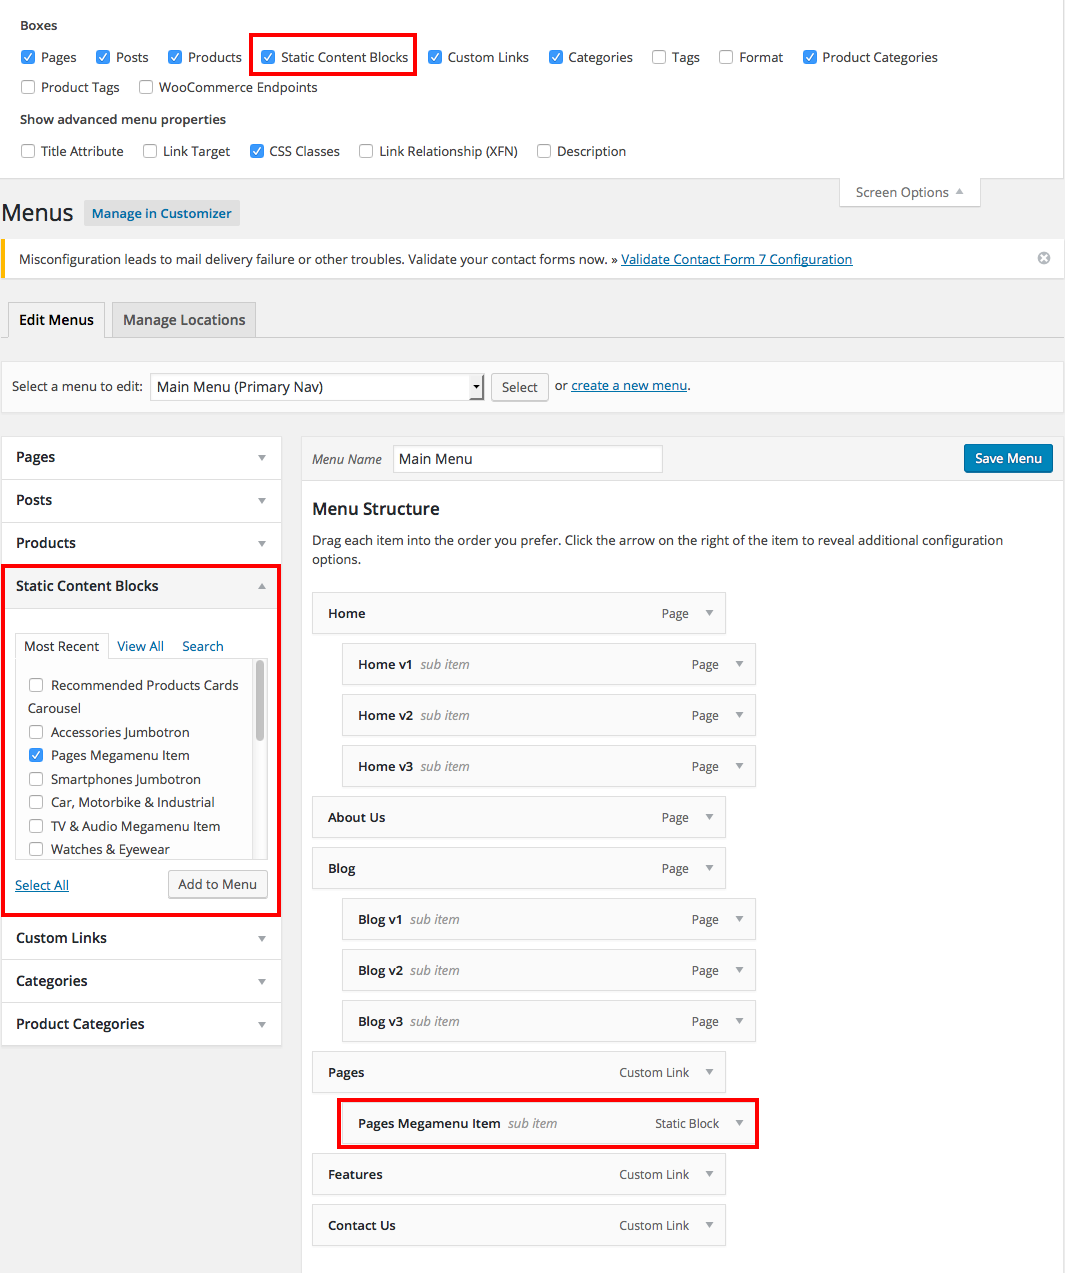
- In the dropdown that appears, check on Static Content Blocks under Show on screen. You will now see Static Content Blocks listed in the left side.
- Choose the menu you want to edit. In my case I’ve chose a menu that is hooked to Primary Nav location.
- Now check the Pages Megamenu Item and click on Add to menu.
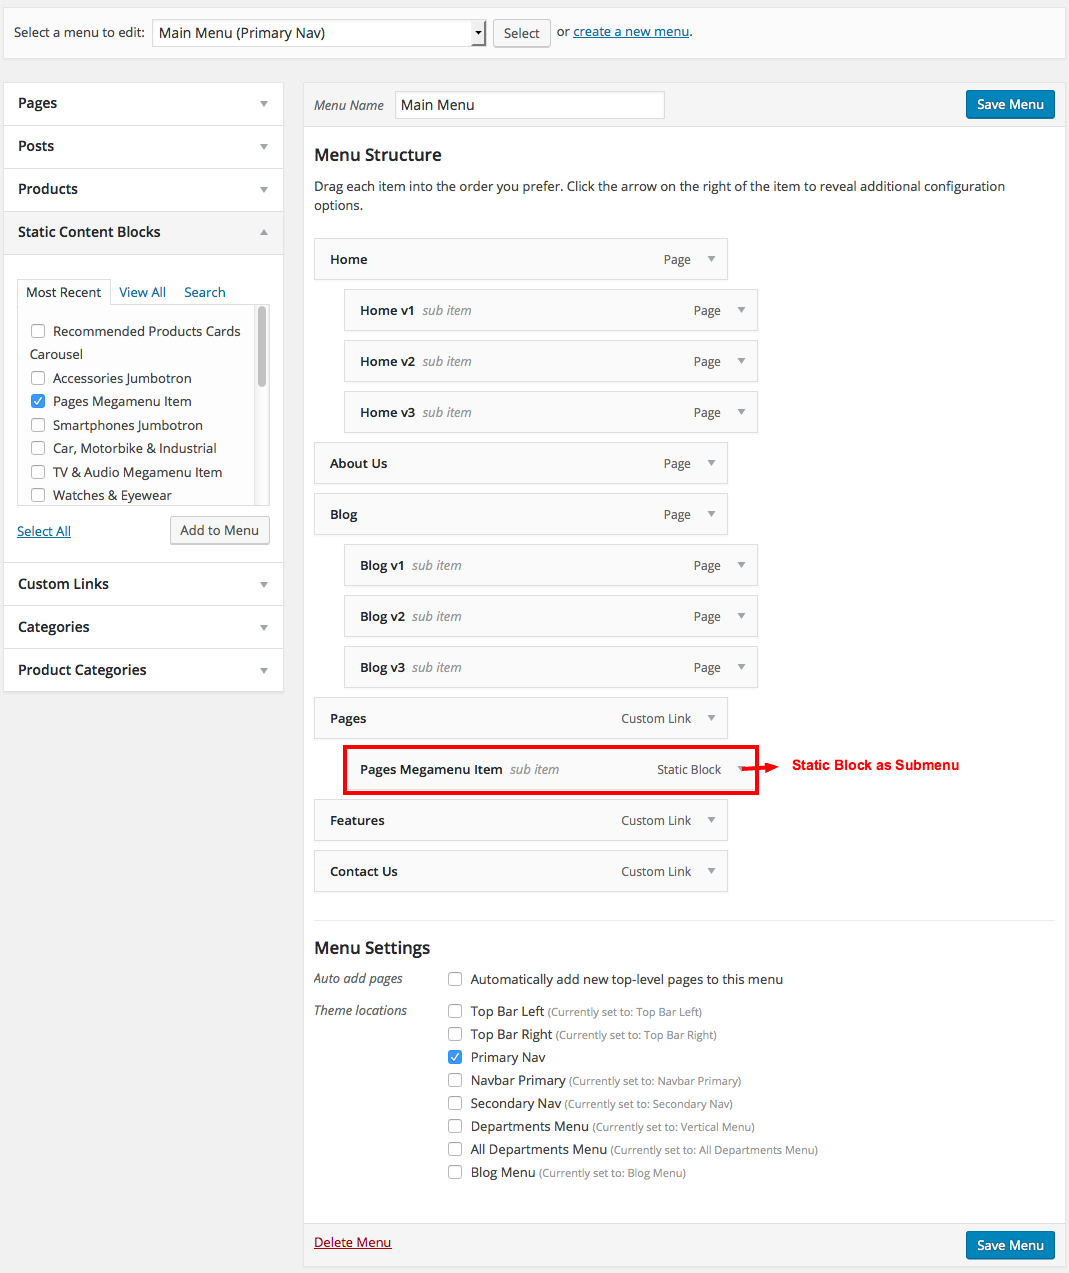
- Drag the Pages Megamenu Item box and drop it under any existing menu as a submenu.
- Click on Save Menu.
- Now the megamenu will is added as a submenu.
A complex Megamenu Item
1. The Grid
- Our Complex Megamenu item will now have 4 columns.
- On the top-right of each row, you will find a grid icon, next to the move icon.
- Click on the grid icon and it will expand to various grid option available.
- We will select a predefined grid which is 1/4 + 1/4 + 1/4 + 1/4.
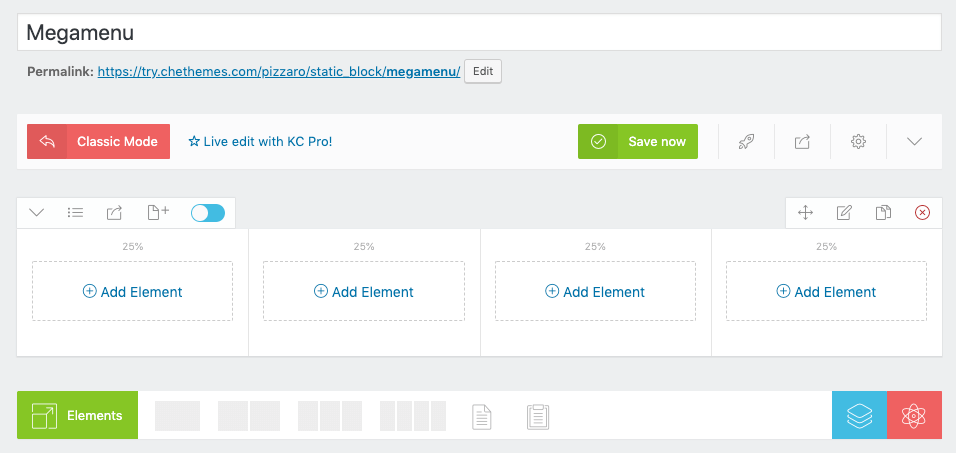
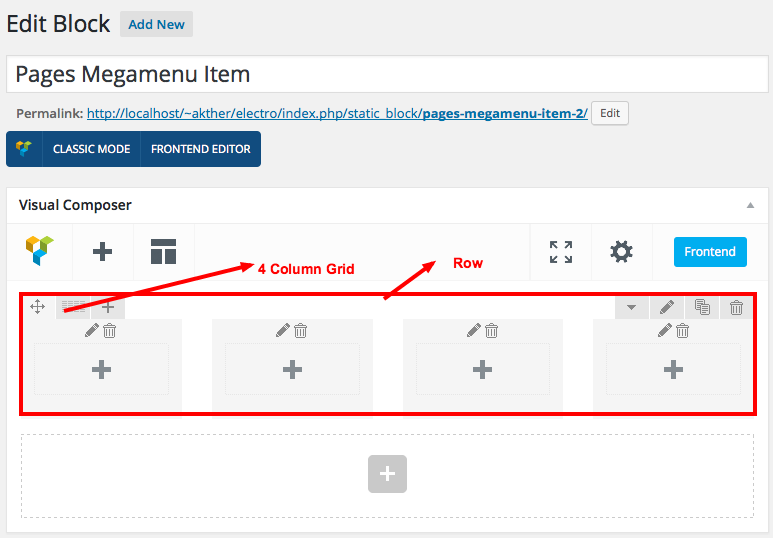
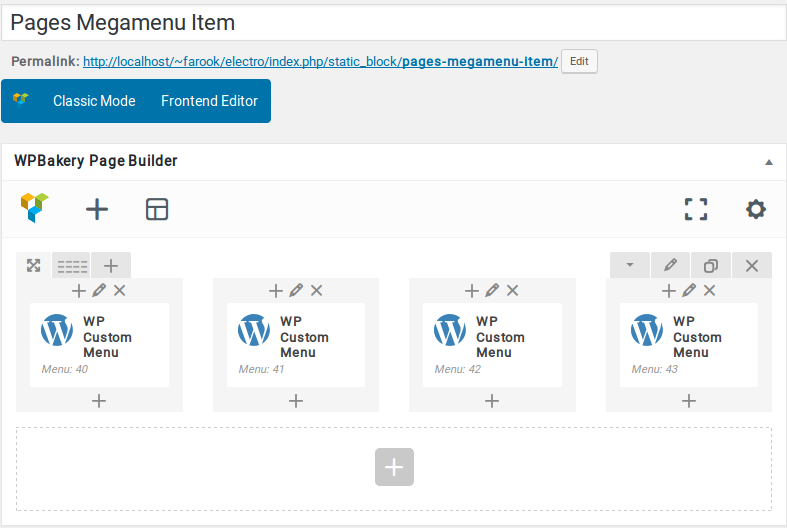
- Once you click on the predefined grid layout it will look like this :
King Composer – Settings
Visual Composer – Settings
2. Populating the Grid
- King Composer or Visual Composer comes with lot of elements that can be added to the Grid.
Row 1 has 4 columns.
- Column 1 – Click on the Add button. It should popup Add Element button. Let us add Navigation Menu or WP Custom Menu widget under WordPress Widgets. I have already created a menu (via Appearance > Menus).
- Widget Title :
- Menu : Pages Menu #1 ( name of the menu created already)
- Column 2 – Click on the Add button. It should popup Add Element button. Let us add WP Custom Menu widget under WordPress Widgets. I have already created a menu (via Appearance > Menus).
- Widget Title :
- Menu : Pages Menu #2 ( name of the menu created already)
- Column 3 – Click on the Add button. It should popup Add Element button. Let us add WP Custom Menu widget under WordPress Widgets. I have already created a menu (via Appearance > Menus).
- Widget Title :
- Menu : Pages Menu #3 ( name of the menu created already)
- Column 4 – Click on the Add button. It should popup Add Element button. Let us add WP Custom Menu widget under WordPress Widgets. I have already created a menu (via Appearance > Menus).
- Widget Title :
- Menu : Pages Menu #4 ( name of the menu created already)
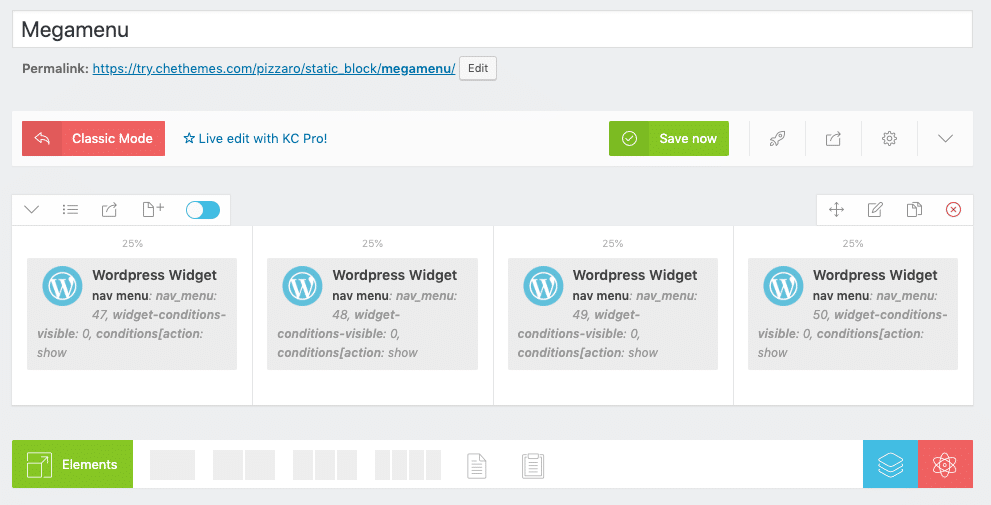
3. How does the Grid look after populating ?
King Composer – Settings
Visual Composer – Settings
